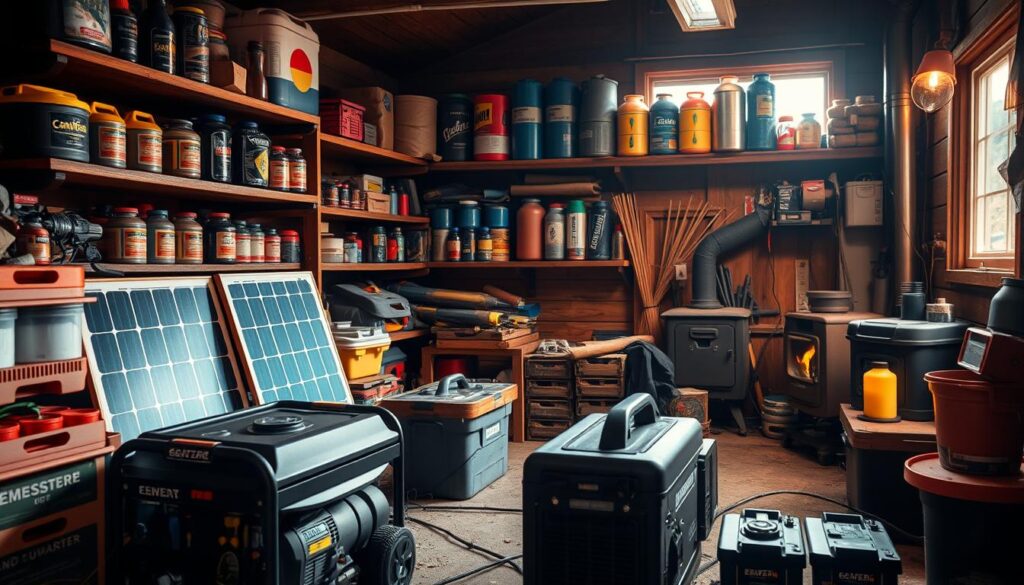
As someone who loves the outdoors, I know how key it is to be able to start a fire in various weather conditions. Making your own all-weather fire starter is a big help. It makes you feel more secure and confident when you’re out in nature.
Creating your own fire starter is not only cheaper but also very fulfilling. Many sources, like a test on DIY firestarters, show different ways to make a reliable fire starter. I’ve found that using simple items like sawdust, cotton balls, and wax works really well.
Key Takeaways
Create a Sawdust Muffin for a longer burn time
Use a Cotton Slimeball for a quick and easy fire starter
Make a Tampon Candle for a compact and efficient fire source
Try the Wood Shavings Bon-Bon for a fast and simple method
Utilize a Dryer Lint Egg for a unique and effective fire starter
Understanding All-Weather Fire Starters
A durable fire starter is key for campers and survivalists. It lets you start a fire in any weather. This is vital for cooking, staying warm, and signaling for help.
What Makes a Fire Starter All-Weather?
An all-weather fire starter works in different weather. It’s waterproof and durable. It can handle wind and rain.
It must work even when wet.
It needs to make a high-temperature spark or flame.
Importance for Outdoor Enthuisasts
For outdoor lovers, an all-weather fire starter is more than handy. It’s essential for safety and comfort.
It helps make hot meals and boil water for cleaning.
Fire also keeps you warm and dries wet clothes.
Having a dependable emergency fire starter can save lives. It’s a must-have for any outdoor kit.
Materials I Use for My Fire Starters
To make a fire starter that works well in different conditions, picking the right materials is important. A good fire starter should light easily and burn steadily.
Choosing the Right Base Ingredients
The base ingredients are the heart of a fire starter. You can use wax, lint, and wood shavings. Wax is great because it keeps the flame going. Dryer lint, for example, is very flammable and easy to find.
Other ingredients like wood shavings or sawdust work well because they burn easily. You can also use old candles to add wax and make the fire starter burn better.
The Role of Accelerants
Accelerants help make fire starters light up and burn better. You can use petroleum jelly or other waxes to make the base ingredients burn more easily.
Petroleum jelly-coated cotton balls
Wax-coated wood shavings
Lint mixed with melted wax
These mixes not only make the fire starter work better but also perform well in wet or windy weather.
Natural vs. Synthetic Options
Choosing between natural and synthetic materials has its pros and cons. Natural materials like dryer lint and wood shavings are easy to find and good for the environment.
Synthetic materials, like certain waxes or paraffin, burn more consistently. Your choice depends on what you need and what you prefer.
Natural materials: dryer lint, wood shavings
Synthetic materials: paraffin wax, certain types of candle wax
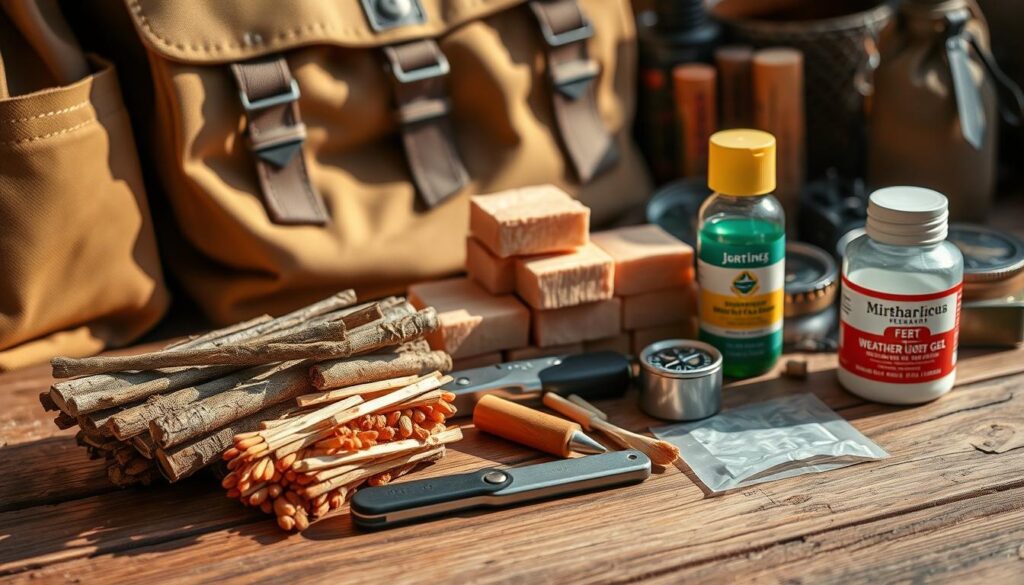
Step One: Gathering Supplies
The first step in making an emergency fire starter is to gather the right supplies. You need materials and tools that work well in different weather conditions. This is key to creating a all-weather fire starter that you can count on.
Essential Tools and Equipment
You’ll need some basic tools and materials to begin. These include dryer lint, wood shavings or sawdust, and old candles. It’s also good to use a double boiler to melt wax, as recommended by some sources. For more details on what you’ll need, check out eBay.
Dryer lint
Wood shavings or sawdust
Old candles
Double boiler
Mixing bowl
Spoon or stirrer
Having these tools and materials ready will help make the process easier and faster.
Safety Precautions to Consider
When working with wax and accelerants, safety is a top priority. It’s important to follow safety guidelines to avoid accidents. Handling flammable materials needs careful attention to prevent mishaps.
“Handling flammable materials requires caution and attention to detail to prevent accidents.”
Some important safety steps include:
Safety Measure
Description
Use protective gear
Wear gloves and safety glasses to protect yourself from splashes or spills.
Work in a well-ventilated area
Make sure there’s good airflow to avoid inhaling fumes from melting wax or other materials.
Keep a fire extinguisher nearby
Have a fire extinguisher or a bowl of water ready in case of fires.
By following these safety tips, you can reduce risks and ensure a safe crafting process.
Step Two: Preparing the Fire Starter Mix
Now that you have your supplies, it’s time to make the fire starter mix. This step is very important. The quality of your mix will affect how well your fire starter works.
Mixing Ratios for Optimal Performance
The mix of wax to substrate is key for a good fire starter. A balanced mix makes your fire starter reliable and waterproof. For example, using dryer lint, you might want a mix that’s flammable but also compact.
Start with a mix of about 70% substrate (like dryer lint) and 30% wax. But, you can adjust this based on your materials and how you’ll use your fire starter.
Material
Percentage
Purpose
Dryer Lint
70%
Substrate for burning
Wax
30%
Waterproofing and sustained burn
Techniques for Even Distribution
It’s important to mix the wax evenly with your substrate for a consistent burn. Melt the wax and mix it well with your substrate. This way, the wax coats the substrate evenly.
Tips for an Even Mix:
Make sure the wax is fully melted before mixing.
Use a tool that lets you mix well.
Work in a well-ventilated area to avoid inhaling wax fumes.
“The key to a successful fire starter is in the mix. Ensuring that your materials are well combined and that the wax is evenly distributed will significantly improve the performance of your fire starter.”
By carefully preparing your fire starter mix, you can make a reliable, waterproof, and compact fire starter. This will help you in many outdoor situations.
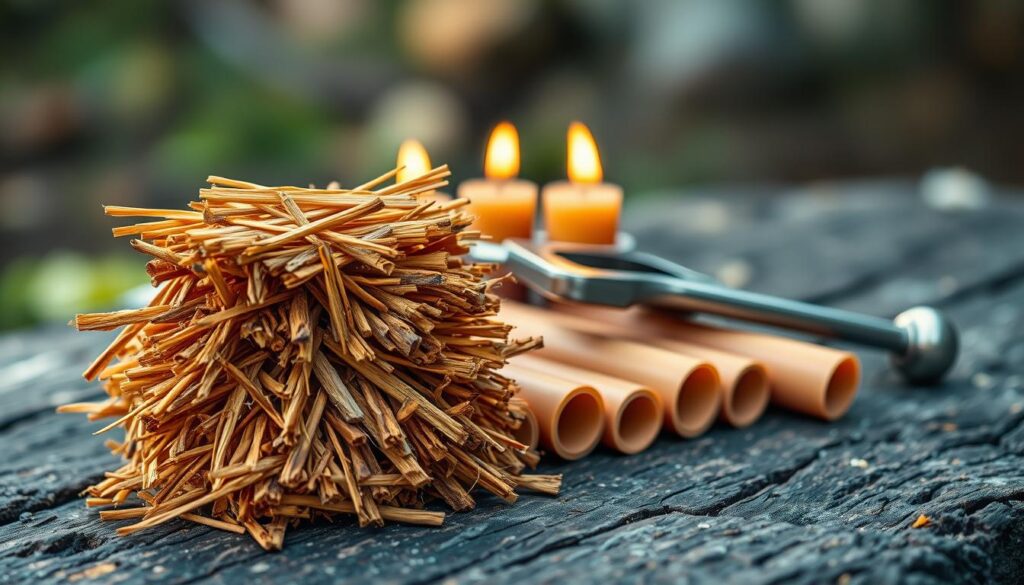
Step Three: Molding the Fire Starter
Now that the fire starter mix is ready, I shape it into a compact and durable form. This step is key to its success in different weather. A well-shaped fire starter stays compact and durable, making it a great outdoor fire starter.
Using Molds vs. Free-Form
There are two main ways to shape a fire starter: using molds or making free-form shapes. Molds, like an egg carton or muffin cups, help make uniform shapes. Free-form shapes, though, offer more flexibility for unique shapes.
Some people use an egg carton as a mold, while others prefer paper egg cartons or muffin cups. The choice depends on the fire starter’s shape and size you want.
Tips for Ensuring Compactness
To keep it compact, press the mix firmly into the mold. Make sure to fill any gaps or air pockets. This makes the fire starter dense and durable. Also, the right mix consistency is key to keep the shape and prevent it from breaking.
By following these tips, you can make a great outdoor fire starter that’s both compact and durable.
Step Four: Curing and Drying
To get the best results from your fire starter, it’s key to understand curing and drying. This step is very important. It affects how well the all-weather fire starter works.
After you mold the fire starter, let it cure and dry completely. It’s important to let the wax solidify before using it. This makes sure the fire starter works well in different situations.
Best Practices for Drying Time
The time it takes to dry can change based on the fire starter’s mix and the environment. Usually, drying for at least 24 hours is recommended. But, make sure the wax is fully hardened before you test or store the fire starter.
To help it dry evenly, put the fire starters on a wire rack or tray. This lets air move around each one. It stops moisture from getting trapped, which could make the fire starter less effective.
Environmental Factors to Consider
Things like temperature and humidity are very important for drying. It’s best to dry the fire starters in a cool, dry spot, away from sunlight. Too much heat can melt the wax, and too much moisture can make it not work well.
Environmental Factor
Ideal Condition
Impact on Fire Starter
Temperature
Cool, around 60-70°F (15-21°C)
Affects wax hardness and drying time
Humidity
Low to moderate, below 60%
Influences moisture retention and overall performance
By managing these environmental factors and following good drying practices, you can make sure your waterproof fire starter is reliable. It will be ready for use in many different situations.
Step Five: Testing the Fire Starter
Now, I’m ready to test my all-weather fire starter. This step is key to making sure it works well in different situations.
I test it in different weather, like rain, wind, and dry heat. I use a careful method to do this.
Conditions for Testing
To test my outdoor fire starter, I create different weather conditions. This includes:
High humidity or rain
Strong winds
Extreme temperatures
This helps me see if my fire starter is reliable as an emergency fire starter.
Evaluating Performance in Different Weather
I check how well it ignites and keeps a flame in various conditions. For example, in wet weather, a good fire starter should start a flame easily. I also look at how long it burns and how easy it is to light.
Here’s a table showing what a good fire starter should do in different weather:
Weather Condition
Expected Performance
Rain or High Humidity
Should ignite with ease and sustain a flame
Strong Winds
Should resist being extinguished and continue burning
Extreme Temperatures
Should perform consistently without significant degradation
A study on DIY fire starters shows how important the materials and design are.
In conclusion, testing my fire starter helps me improve its design and materials. This makes it a reliable outdoor fire starter.
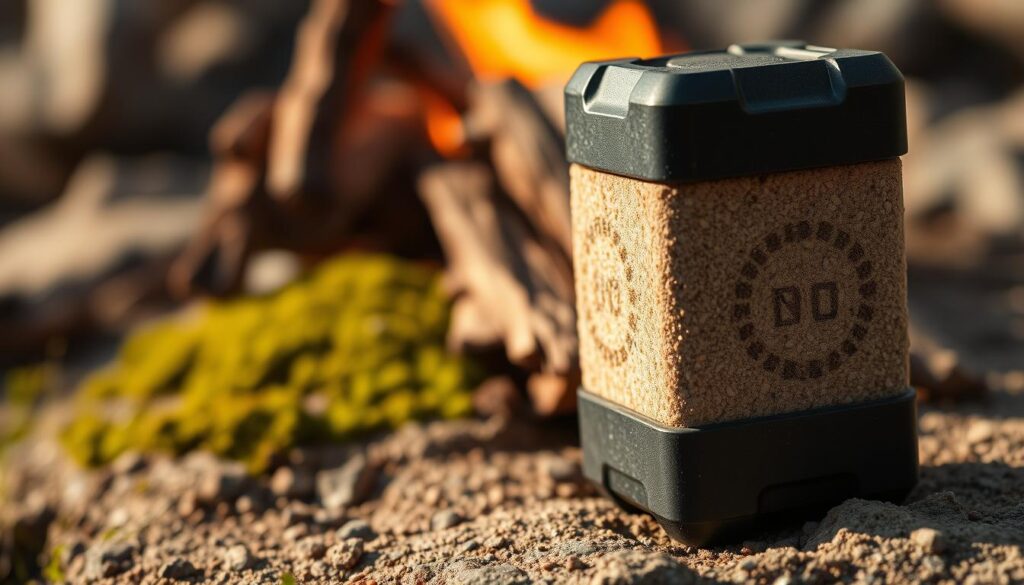
Tips for Storing Fire Starters
To keep your waterproof fire starter working well, store it right. The right storage keeps your fire starter, big or small, in top shape.
It’s key to keep fire starters dry and safe from the weather. Storing them in a sealed container is a top tip for keeping them dry.
Ideal Storage Conditions
Fire starters need a cool, dry spot, away from sunlight and moisture. This keeps them in good condition.
Keep them away from children and pets.
Use airtight containers to maintain dryness.
Avoid storing near open flames or sparks.
How Long They Last
The life of a fire starter depends on its makeup and how it’s stored. A well-kept fire starter can last months to years.
Storage Conditions
Shelf Life
Airtight container, cool, dry place
Up to 2 years
Exposed to moisture, variable temperatures
Less than 6 months
Follow these storage tips to keep your fire starters reliable and ready when you need them.
Conclusion and Final Thoughts
Making your own all-weather fire starter is easy and rewarding. It makes your outdoor time better. Just follow the 5 easy steps in this article to make a reliable fire starter for your adventures.
Advantages of DIY Fire Starters
Creating your own fire starter lets you tailor it to your liking. You can pick the materials and design that suit you best. This ensures a steady flame in any weather.
Experimenting with New Designs
I suggest trying out different materials and designs for your fire starter. This way, you can find the perfect mix for you. It also helps you learn what makes a fire starter reliable.
With a homemade fire starter, you’ll be ready for any outdoor adventure. Plus, you’ll feel proud knowing you made it yourself.
FAQ
What makes a fire starter suitable for all-weather conditions?
A fire starter is all-weather if it works in rain, snow, and wind. It’s waterproof and durable.
Why is it important to have a reliable fire starter for outdoor activities?
For campers and survivalists, a reliable fire starter is key. It lets you start a fire in any weather. This is vital for warmth, cooking, and signaling.
What are the common materials used to make fire starters?
Fire starters can be made from many materials. These include sawdust, dryer lint, or cotton balls. You can also use wax, kerosene, or lighter fluid. Choices range from natural to synthetic.
How do I ensure the fire starter mix is consistent and effective?
To get a consistent mix, use the right ratios and mixing techniques. This ensures the fire starter burns well and lights easily.
What are the best practices for drying and curing fire starters?
Fire starters need to dry in a well-ventilated area. Keep them away from the elements. Let them cure for a good amount of time. This makes them dry and ready to use.
How should I store my homemade fire starters?
Store fire starters in a cool, dry place. Keep them away from moisture and extreme temperatures. This helps them stay effective.
How long do homemade fire starters typically last?
The shelf life of homemade fire starters varies. It depends on the materials and storage conditions. They can last months to a year or more if stored right.
Can I use my homemade fire starters in extreme weather conditions?
Yes, a well-made fire starter works in rain and snow. It’s a great tool for outdoor activities.
Are there any safety precautions I should take when making fire starters?
Yes, safety is key when making fire starters. Handle materials carefully. Work in a well-ventilated area. Follow safety guidelines when using accelerants and flammable materials.
Can I experiment with different materials and variations when making fire starters?
Yes, making fire starters is a chance to try new things. You can experiment with materials and techniques. This lets you create fire starters for specific needs.