Building a shelter from scratch was tough but rewarding for me. It taught me new skills and made me feel accomplished. In this article, I’ll share how I built a safe haven using common materials.
The journey of build a shelter includes planning, designing, and building. It needs patience, persistence, and creativity. Looking back, I’m excited to show you how I did it.
Key Takeaways
Understand the importance of planning and designing your shelter.
Learn how to choose the right materials for your project.
Discover the steps involved in constructing a safe and durable shelter.
Gain insights into overcoming common challenges during the building process.
Explore tips for customizing your shelter to suit your needs.
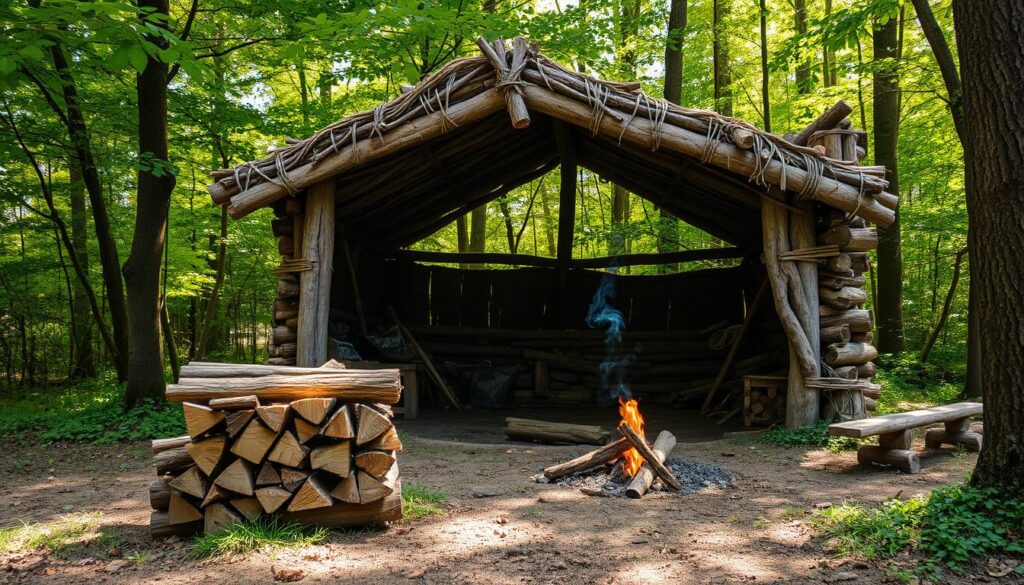
Why I Decided to Build a DIY Shelter
When I looked at my old shelter, I knew it was time for a change. The old shelter was falling apart, with rotting logs and a small roof. It was clear it needed to be replaced.
My reasons for starting this outdoor shelter project were many. The old shelter was in bad shape, with rotting logs and a small roof. This made it uncomfortable and unsafe.
My Motivation for Building
I wanted a new shelter that was strong and easy to take care of. My past experiences with building shelters taught me the importance of a solid structure.
I also wanted a shelter that was cozy and could handle different weather. I planned to make it bigger and use better materials.
Benefits of a DIY Shelter
Building a DIY shelter has many perks. I could make it exactly how I wanted, choosing materials and design myself.
It was also cheaper to do it myself. I saved money by using local materials and doing the work myself.
Environmental Considerations
Building a DIY shelter also let me think about the environment. I used sustainable materials to reduce the project’s impact on nature.
Building the shelter also helped me improve my building skills. I learned more about sustainable building practices.
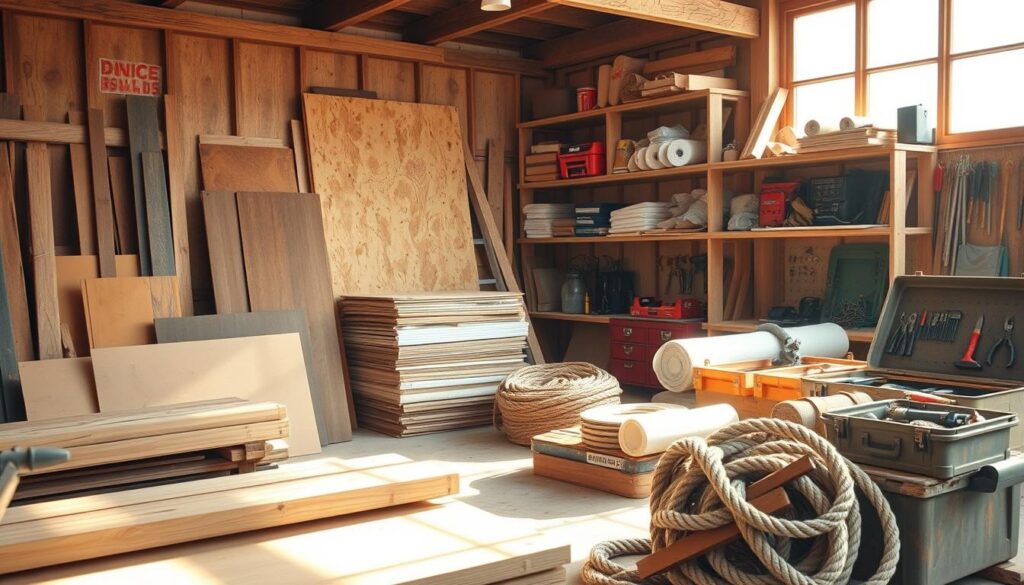
Tools and Materials Needed
To build a DIY shelter, you need the right tools and materials. The right equipment makes the job easier and ensures your shelter is safe and strong.
Essential Tools for Construction
Building a DIY survival shelter needs many tools. Here are some must-haves:
Chainsaws for cutting logs and other lumber.
Drills for making holes for screws or other fasteners.
Hammers for driving nails or fitting parts together.
Tape measures and levels to ensure accuracy and precision.
Recommended Materials
Choosing the right materials is key for a durable and safe shelter. Here are some good options:
Logs or timber for the frame.
Reinforcing rod for added strength.
Roofing materials like shingles, corrugated metal, or waterproof membranes.
Eco-friendly options like recycled wood or sustainably sourced materials.
Optional Upgrades for Comfort
While not essential, some upgrades can make your shelter more comfortable. These include:
Insulation to regulate temperature.
Windows and doors for natural light and ventilation.
Finishing materials like drywall or paneling for interior comfort.
Choosing the right tools and materials ensures your DIY shelter is functional, comfortable, and safe.
Planning Your Shelter Design
Before you start building your shelter, planning the design is key. This step ensures your shelter works well and meets your needs.
Assessing Your Space
First, look at the space you have. Think about the size and shape of the area. Also, note any obstacles like trees or slopes that might affect your design.
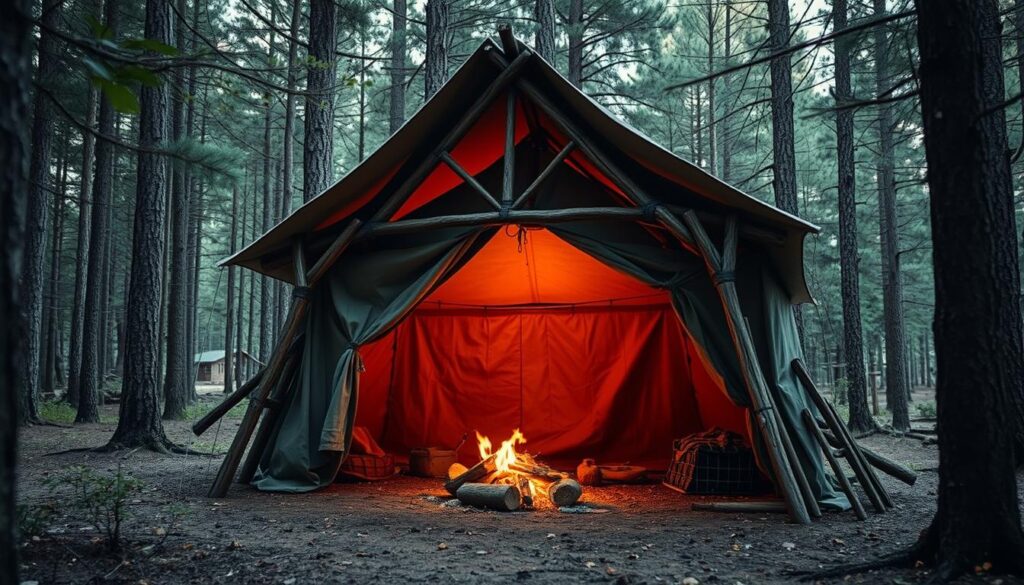
Choosing the Right Design
After checking your space, pick a design for your shelter. Think about what you need it for, how many people it will hold, and the weather. You can pick from simple lean-to shelters, A-frame shelters, or more complex dome-shaped shelters.
Shelter Design
Complexity Level
Space Requirements
Lean-To Shelter
Easy
Minimal
A-Frame Shelter
Moderate
Moderate
Dome-Shaped Shelter
Complex
Significant
Sketching Your Blueprint
Once you’ve picked a design, make a detailed blueprint. Include measurements, materials, and special features. A good blueprint keeps you organized during shelter construction.
Your blueprint should list materials and tools you’ll need. This helps you prepare and avoid delays.
Site Preparation
A well-prepared site is key for a stable and durable shelter. It ensures your DIY shelter project is built on a solid foundation. This is both literal and figurative.
Selecting the Best Location
When building a shelter, start by picking a good location. Look for a spot that’s flat and dry. Stay away from areas with standing water or where water often collects.
Environmental considerations are very important. For example, building near a natural water source can be helpful. But it also brings risks like flooding.
Clearing the Area
After choosing the best location, clear the area next. Remove any debris, rocks, and plants that could get in the way. This step is essential for starting your outdoor shelter project from scratch.
Use tools like a shovel, rake, and wheelbarrow to clear the site well.
Leveling the Ground
After clearing, leveling the ground is next. An uneven foundation can cause problems with your shelter’s structure. Use a spirit level and a rake to make sure the ground is even.
If the ground is very uneven, you might need to change the terrain. Compact the soil to make a stable base for your shelter.
Constructing the Foundation
A strong foundation is key for a stable and lasting homemade shelter. It’s the base of your structure, keeping it safe from the weather.
Types of Foundations
There are many foundation types for your DIY shelter. Your choice depends on the design, materials, and where you’re building.
Slab Foundation: Simple and affordable, great for small shelters.
Crawl Space Foundation: Easy access to plumbing and electrical.
Full Basement Foundation: Adds storage and living space.
According to a
study on sustainable building practices, the foundation type affects a structure’s energy efficiency
Step-by-Step Foundation Building
Building a foundation involves key steps:
Mark the area for the foundation.
Dig the area to the needed depth.
Put down gravel for drainage.
Pour concrete footings and let them set.
Build the foundation walls with rebar and concrete.
Step
Description
Materials Needed
1
Marking the Area
String, stakes, measuring tape
2
Excavation
Shovel, backhoe (optional)
3
Gravel Layer
Gravel, rake
Ensuring Stability
To keep your foundation stable, do the following:
Use top-quality materials that can handle the weather.
Follow local building codes and regulations.
Compact the soil before laying the foundation to avoid settling.
By following these shelter building tips, your homemade shelter will have a solid foundation for years.
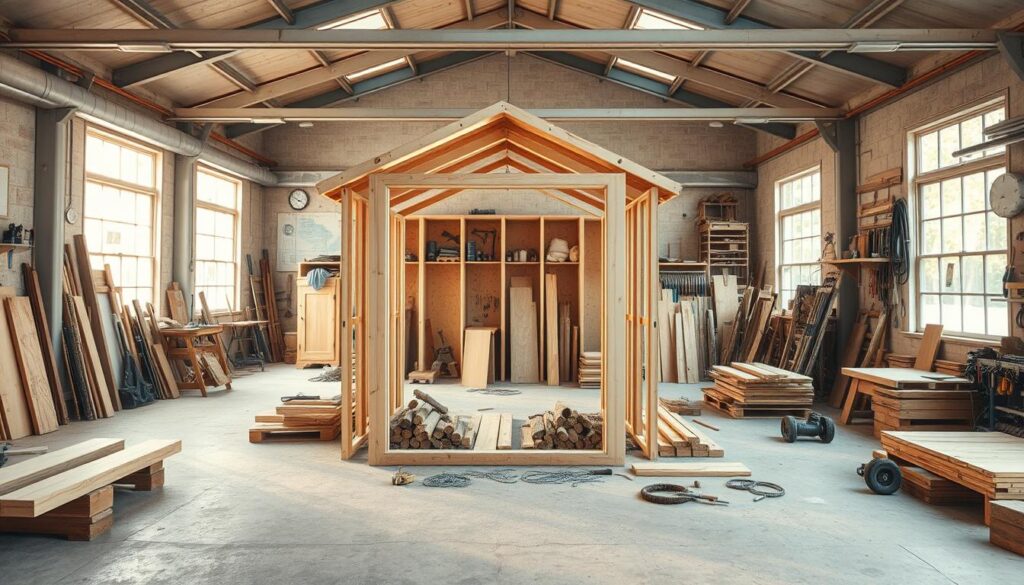
Building the Frame
With my materials ready, I began building the frame of my DIY shelter. The frame is key for the shelter’s structure and shape. It’s a vital step in making the shelter.
Materials for the Frame
I used logs and rebar for my shelter’s frame. Logs gave it a strong base, and rebar added strength and durability. You can try different materials and designs, like the A-frame Survival Shelter, to see what works for you.
The materials you choose affect your shelter’s strength and weather resistance. Think about using treated wood or metals for lasting results.
Assembling the Structure
Building the frame needs careful planning and doing. First, prepare your materials, cut them to size, and then put the frame together with the right fasteners.
Start with the base frame, making sure it’s square and level.
Make the shelter’s skeleton with rebar or wooden dowels.
Hold the frame together with bolts, nails, or wire, based on your materials.
Tips for Strength and Durability
To make your DIY shelter stronger and more durable, follow these tips:
Choose high-quality materials that can handle the weather.
Make sure the frame is well-anchored to the ground to avoid shifting or collapse.
Check the frame regularly for any damage or wear.
Regular maintenance is key to keeping your shelter safe and secure over time.
Installing the Roof
After setting up the frame, I started working on the roof. The roof is key because it keeps us dry and adds to the shelter’s strength.
I looked at different roof design options for my needs. The right design depends on the weather, materials, and how I’ll use the shelter.
Roof Design Options
There are many roof designs, each with its own benefits. A simple gable roof is easy to build and works well for rain and snow. A flat roof is good for a simple look or if you want to use the roof for a garden.
“The roof is the most critical component of a shelter, providing the first line of defense against environmental factors,” a builder said. This shows why picking the right design and materials is so important.
Materials for Roofing
There are many roofing materials to choose from. You can pick from common options like asphalt shingles and metal to greener choices like recycled plastic or green roofs. Think about how long it lasts, the cost, and its impact on the environment.
Asphalt shingles are affordable and simple to put up.
Corrugated metal roofs are tough and weather-resistant.
Green roofs are good for insulation and are eco-friendly.
Proper Installation Techniques
It doesn’t matter what design or materials you choose, proper installation techniques are key. This means making sure it’s waterproof, using the right fasteners, and maybe adding a protective layer.
To keep it waterproof, make sure to overlap and secure the materials well. Checking your work as you go can catch problems before they get big.
With careful planning and roof installation, your DIY shelter will be both useful and long-lasting.
Adding Finishing Touches
Finishing my self-made shelter was the most rewarding part. It turned the space into a cozy retreat. I worked on making it both functional and beautiful.
Insulation for Comfort
Insulation is key for a comfy shelter. I used foam board insulation for walls and ceiling. It keeps the temperature right and blocks out noise.
For a greener option, think about recycled denim insulation or natural fiber insulation.
Make sure insulation fits well and seals all gaps.
Use a vapor barrier to stop moisture.
Check the R-value for the best insulation.
Installing Windows and Doors
Windows and doors are essential for a complete shelter. I chose energy-efficient windows to save on heat. I also installed a strong door with a good lock.
The last step was adding a personal touch with paint and decor. I picked colors that match the outdoors, making it peaceful. Some ideas include:
Use eco-friendly paints for a green choice.
Add wood and stone for a natural look.
Bring in plants or a small garden for beauty.
By paying attention to these details, I made my DIY shelter cozy and useful. It meets all my needs.
Safety Tips and Best Practices
Reflecting on my DIY shelter building, I see safety as the most important thing. When building a shelter, it’s key to follow safety tips for a successful project.
Protective Gear for Safety
Wearing safety gear is a must when building a shelter. I suggest wearing gloves, safety glasses, and a hard hat. This gear helps prevent injuries and keeps you safe while working.
Avoiding Common Pitfalls
One major tip is to avoid common mistakes that can weaken the structure. Be careful with the materials you choose and follow the manufacturer’s guidelines. This way, you’ll build a shelter that’s both safe and long-lasting.
Regular Maintenance
After finishing your DIY shelter, regular upkeep is essential to keep it in good shape. Check the structure often and fix any issues quickly. By following these tips, your DIY shelter will last for many years.
FAQ
What are the essential tools required for building a DIY shelter?
You’ll need a chainsaw, drill, hammer, tape measure, and level to build a DIY shelter. These tools help you cut, shape, and assemble the structure. They also ensure it’s level and secure.
What materials are recommended for building a DIY shelter?
Good materials for a DIY shelter include logs, rebar, and roofing like asphalt shingles or corrugated metal. You’ll also need insulation. Choose based on your design, budget, and local climate.
How do I choose the best location for my DIY shelter?
Look for a spot with good drainage, sunlight, and easy access. Make sure it’s clear of debris and level. This will give your shelter a solid base.
What are the benefits of building a DIY shelter?
A DIY shelter offers safety, protection from the elements, and saves money. It can also be tailored to your needs and preferences.
How do I ensure the stability of my DIY shelter?
Build a strong foundation and use quality materials. Follow proper construction methods. Regular checks and maintenance can spot and fix issues.
What are some common mistakes to avoid when building a DIY shelter?
Avoid poor site prep, weak foundations, and low-quality materials. Always follow safety rules and best practices to prevent accidents.
How can I make my DIY shelter more comfortable?
Add insulation, install windows and doors, and ensure good ventilation. Finishing touches like painting can also enhance comfort.
What safety gear is essential when building a DIY shelter?
You’ll need a hard hat, safety glasses, gloves, and a first aid kit. Always follow safety guidelines, even when using power tools or working at heights.
How do I maintain my DIY shelter after construction?
Regularly check for damage or wear and fix it. Keep the roof and walls secure. Also, inspect the foundation and make adjustments as needed.
Can I customize my DIY shelter to suit my needs?
Yes, building a DIY shelter lets you tailor it to your needs. Choose the design, materials, and features that fit your requirements best.