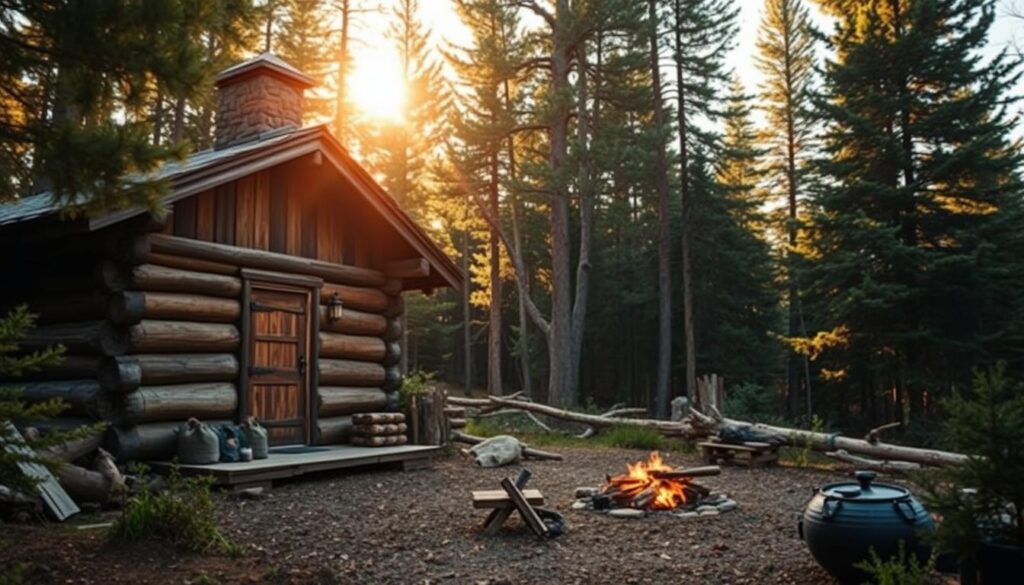
I’ve spent years learning wilderness survival skills. One key skill is building a reliable shelter. A good shelter can save your life in bad weather. It keeps you safe and gives you peace of mind.
For more help, check out crafting an emergency shelter. It shows you how to make effective outdoor shelters step by step.
Key Takeaways
Understanding the importance of shelter in survival situations
Knowing the essential tools for shelter building
Identifying common materials for emergency shelters
Designing shelters with key features like ventilation and lighting
Optimizing space for comfort and efficiency
Understanding the Importance of Shelter in Survival
Shelter is key in survival situations. It protects you from the weather and keeps you safe and calm.
Being in the wilderness can be tough, with rain, snow, wind, and cold. A good shelter keeps you warm and safe from harm. For more on building shelters, check out this guide on wilderness survival.
Why Shelter Matters
Shelter is more than just a place to hide. It helps keep your mind strong when things get tough. Having a safe spot to rest can lift your spirits and lower stress.
Key benefits of shelter include:
Protection from environmental hazards
Enhanced sense of security
Improved mental well-being
The Role of Shelter in Comfort and Safety
A good shelter can make a big difference in survival. It keeps you dry and warm, helping you stay healthy.
Shelter Type
Protection Level
Comfort Level
Lean-To Shelter
Moderate
Basic
A-Frame Shelter
High
Moderate
Debris Hut
Very High
High
In short, knowing how to build a shelter is essential for wilderness travel. It’s not just about staying safe; it’s also about feeling comfortable. Understanding the importance of shelter helps you prepare for survival.
Types of Shelter Building Techniques
Building a shelter is a skill that involves both natural and man-made structures. Each type has its own purpose. Knowing the different types helps you pick the right one for your situation and resources.
Natural Shelters
Natural shelters are found in the environment and protect from the elements. Examples are caves, rock overhangs, and hollowed-out logs. Using natural shelters saves time and energy compared to building one from scratch.
When finding a natural shelter, check its stability and watch out for dangers like falling rocks or flooding. Key advantages of natural shelters include:
They are available right away
They require little construction effort
They can naturally keep you warm
Man-Made Shelters
Man-made shelters are built from materials like branches, leaves, and snow. You can use DIY shelter construction methods like debris huts, lean-tos, and wigwams. The choice depends on what materials you have and the weather.
Debris huts are great for keeping warm and dry.
Lean-tos are simple and quick to build with a few branches and a waterproof cover.
Wigwams are more complex but offer good insulation and can be made stronger with more materials.
It’s important to know about both natural and man-made shelter building techniques. By looking at your environment and what you have, you can pick the best shelter. This ensures your safety and comfort.
Assessing Your Shelter Building Needs
Understanding your environment and personal needs is key to building an effective shelter. When venturing into the wilderness, it’s essential to assess your shelter building needs. This ensures you have a safe and comfortable place to rest.
Factors to Consider
Several factors come into play when assessing your shelter building needs. These include the climate and weather conditions, the terrain, and the availability of materials.
Climate and Weather: The type of shelter you need will largely depend on the climate and weather conditions. For instance, in cold and snowy conditions, a shelter that provides good insulation is key.
Terrain: The terrain can affect the type of shelter you can build. For example, building on a slope may require different techniques than building on flat ground.
Terrain Type
Shelter Considerations
Flat Ground
Easier to build on, but may require additional drainage considerations.
Slope
Requires careful planning to ensure stability and drainage.
Rocky Terrain
May require more effort to find suitable materials and build a stable shelter.
Available Resources and Environment
The resources available in your environment play a significant role in determining the type of shelter you can build. This includes natural materials like branches, leaves, and snow.
“The ability to improvise with available materials is a critical skill in wilderness survival.”
Assessing the environment also involves considering hazards like wildlife habitats, flood zones, and areas prone to landslides.
By carefully assessing your shelter building needs and considering the factors mentioned, you can build a shelter that provides the necessary protection and comfort.
Basic Natural Shelter Techniques
In wilderness survival, building a shelter from natural materials is key. It can save your life in bad weather or when you need a place to rest.
Lean-To Shelters and A-Frame Structures are easy and effective. You can make them with materials found almost anywhere outdoors.
Lean-To Shelters
A Lean-To Shelter is simple. Find a strong branch or a fallen tree. Lean other branches against it to make a slope. Then, cover it with leaves or grasses for insulation and protection.
A-Frame Structures
An A-Frame Shelter is another good DIY option. Make a frame like the letter “A” with strong branches. Cover it with leaves or grasses. It’s great in snow because snow slides off easily.
Lean-To and A-Frame shelters are great examples of natural construction. They need little tools and use materials found in nature. They’re perfect for survival.
Advanced Natural Shelter Techniques
Learning advanced natural shelter techniques can change the game in survival situations. These skills help you face harsh weather and provide a safe place to explore.
These techniques include building debris huts and using caves and overhangs. They need little material and are very strong.
Debris Hut Construction
Building a debris hut is a complex method. You gather leaves, branches, and grasses to make a strong shelter. First, you make a dome-shaped frame with sturdy branches.
Then, you cover it with debris. This makes the shelter warm and safe from the weather.
Building a debris hut takes patience and effort. But, it creates a strong shelter that can handle different weather.
Gather materials: Collect sturdy branches, leaves, grasses, and other natural debris.
Create the framework: Arrange the branches in a dome shape to form the base of the hut.
Layer with debris: Cover the framework with layers of debris, ensuring a thick, insulating layer.
Finishing touches: Ensure the structure is stable and add additional layers as needed for extra protection.
Cave and Overhang Utilization
Using caves and overhangs is another advanced shelter method. They offer quick protection from the weather, needing little to no extra work.
When picking a cave or overhang, check its safety and fit. Look at the rock’s stability, risk of rockfall, and wildlife. A good check can keep you safe and ensure a solid shelter.
Here’s a comparison of debris huts and cave/overhang shelters:
Feature
Debris Hut
Cave/Overhang
Construction Effort
High
Low to None
Materials Required
Abundant natural debris
None
Protection Level
High
Very High
Survival expert Ray Mears says, “A good shelter can mean life or death. Natural shelters, when chosen right, offer quick solutions but need careful selection for safety.”
“The best shelter is one that is well-camouflaged, dry, and protected from wind. Debris huts and natural formations like caves can offer these benefits, making them invaluable in a survival scenario.”
In conclusion, skills like debris hut building and using caves and overhangs are key for wilderness survival. They boost your survival and comfort chances in the outdoors.
Essential Tools for Shelter Building
Building a shelter needs the right tools and knowledge. The right tools make the shelter building process easier and safer. We’ll look at the key tools for DIY shelter construction and how to use them well.
Recommended Tools
For emergency shelter building, some tools are must-haves. You’ll need a good knife for cutting, cordage for tying, and a tarp for waterproofing. A shovel is also key for digging and drainage.
Other important tools include a saw or axe for cutting logs, a hammer for stakes, and a first-aid kit for injuries.
How to Use Each Tool Effectively
Choosing the right knife is key for cutting. Use cordage tightly to withstand the weather. Make sure the tarp is well-anchored to prevent it from moving.
A shovel is for more than digging. It’s also for clearing and leveling. Always wear safety gear when using a saw or axe, and swing safely.
Selecting the Right Location
Finding the right spot for your shelter is key in the wilderness. A good location keeps you safe from bad weather and dangers. It makes your survival journey safer and more comfortable.
Factors Influencing Shelter Site Selection
Several things matter when picking a shelter spot. Natural windbreaks like trees or rocks help block wind and cold. Being close to water is important, but make sure your shelter won’t flood.
For more tips on picking a survival shelter spot, check out this article.
The terrain is also a big deal. Stay away from low spots that might flood. Choose a spot with good drainage. A slight slope helps keep water away from your shelter.
Environmental Hazards to Avoid
Watch out for environmental dangers when picking a shelter spot. Steer clear of areas that might slide, fall rocks, or flood. Also, avoid places near standing water, as they can have bugs and sickness-causing germs.
Here’s a quick summary of what to look for and what to avoid:
Factor
Ideal Condition
Hazard to Avoid
Wind Protection
Natural windbreaks like trees or rocks
Exposed areas with no wind protection
Water Source
Proximity to a clean water source
Risk of flooding or waterborne pathogens
Terrain
Slightly elevated with good drainage
Low-lying areas prone to water accumulation
By thinking about these points and avoiding dangers, you can make your wilderness shelter safer and more effective.
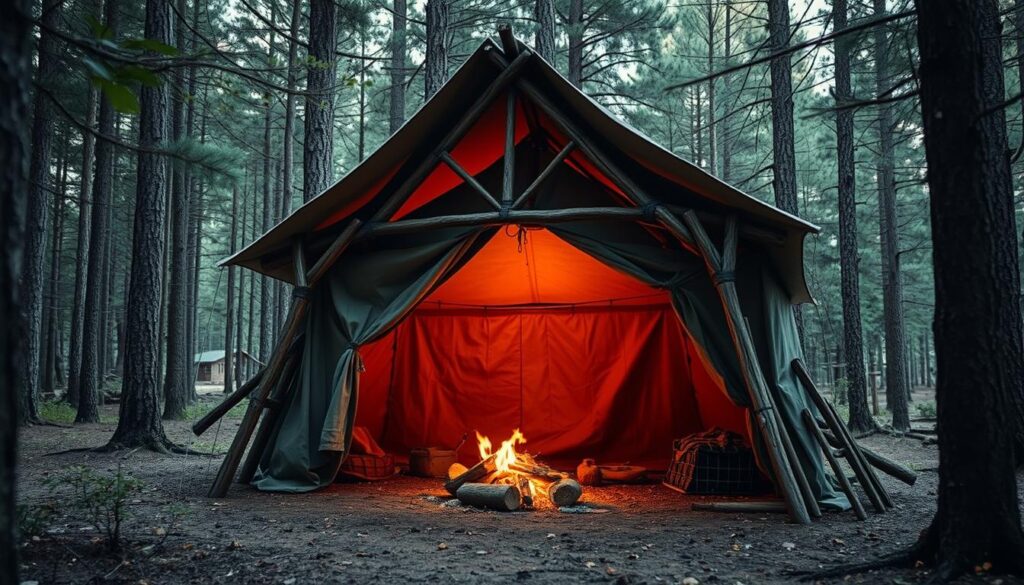
Building a Temporary Shelter
I’ve learned that making a shelter quickly can be a lifesaver in harsh weather. When unexpected weather hits, a temporary shelter can save you. Here, I’ll share how to build one fast and what materials you’ll need.
Temporary shelters protect you from the elements right away. They’re not meant to last forever. Instead, they help until you can build a better shelter or the weather gets better.
Quick-Setup Techniques
The lean-to shelter is a great quick fix. Find a long, strong branch or pole. Lean it against a tree or rock. Then, cover it with leaves, branches, or a tarp for a simple but effective shelter.
Another method is the debris hut construction. Build a dome with branches and cover it with leaves or snow. It’s warm and sturdy.
Look for natural shelters like caves or overhangs.
Use fallen trees or branches to create a base structure.
Cover your shelter with materials like leaves, grasses, or snow.
Materials for Temporary Shelters
The materials for your shelter depend on what’s around you. In a forest, use branches, leaves, and pine needles. In snowy areas, snow can build a quinzhee or snow trench shelter.
Here are some key materials to find:
Sturdy branches or poles for the frame.
Leaves, grasses, or snow for insulation and covering.
A tarp or plastic bag to keep it dry.
Rope or cordage to hold it together.
Survival experts say being adaptable and resourceful is key. “The best shelter is one made from what you have and can build fast,” a survivalist advises.
Insulation Methods for Your Shelter
Insulation is vital for keeping your shelter warm and cozy. It’s essential, more so in cold weather.
Good insulation cuts down on heat loss. This keeps the cold out. For primitive shelter techniques, natural materials work well.
Natural Insulation Materials
For natural shelter construction, many materials can insulate. Here are some top choices:
Leaves: Dry leaves make a great insulating layer.
Grass: Dry grass also insulates well.
Snow: In snowy areas, snow can insulate shelters.
Feathers: Feathers are excellent insulators if you have them.
Tips for Maintaining Heat
To keep your shelter warm, reduce heat loss. Here are some wilderness shelter tips:
Seal your shelter: Use mud, snow, or leaves to block gaps.
Use bedding: Keep your bed off the ground and insulate it.
Control ventilation: Some air is good, but too much lets heat escape.
Using these insulation methods and tips will make your shelter more comfortable and safe. It will help make surviving outdoors easier.
Making Your Shelter Weather-Resistant
Keeping your shelter safe from the weather is key to survival outdoors. Weather can quickly make a safe place dangerous if it’s not built right.
Rain and Snow Protection Strategies
To keep your shelter dry, think about the materials and design. Use waterproof stuff like plastic sheets, tarps, or big leaves. Also, make sure the roof slopes so snow slides off.
Key Materials for Rain and Snow Protection:
Waterproof tarps or plastic sheets
Large leaves or branches for extra protection
Snow stakes or weights to keep the roof down
Material
Water Resistance
Availability
Plastic Sheets
High
Moderate
Tarps
High
High
Large Leaves
Moderate
High
Wind Barriers and Stability
Wind can be as risky as rain and snow. A wind barrier can make your shelter more stable. You can build walls with snow or tie your shelter down with ropes or weights.
With these tips, your shelter will stay safe, even when the weather gets tough.
Safety Considerations While Building
Safety is key when building a shelter in the wild. I always check my surroundings and the dangers of building in the wilderness.
Avoiding Dangerous Situations
I assess the terrain before building my shelter. I look out for landslides, flash flood zones, and unstable ground. I also steer clear of wildlife habitats and poisonous plants.
Watching the weather is also important. I avoid building during harsh weather like heavy rain or strong winds.
Ensuring Structural Integrity
My shelter’s structure must be strong and safe. I use durable materials that can handle different weather. I also make sure it’s well-anchored to the ground.
Regular checks on the shelter help spot any weaknesses or damage. This way, I can make repairs and adjustments to keep it safe.
By keeping these safety tips in mind, I can build a shelter that protects me from the elements. It ensures my safety and well-being in the wilderness.
Learning from Real-Life Experiences
Reflecting on my outdoor adventures, I see how vital shelter building is for survival. Through DIY projects, I’ve come to value a good outdoor shelter.
One standout moment was building a natural shelter on a wilderness trip. Using the environment and techniques from this article, I made a strong shelter. It kept me safe from bad weather.
Success Stories and Challenges
My shelter successes taught me the importance of being ready and flexible in the wild. I’ve also faced challenges like sudden weather changes and finding the right materials. These experiences have been valuable.
Applying the Lessons Learned
Now, I’m confident in facing wilderness challenges thanks to my shelter building skills. I urge readers to keep practicing and improving their skills. This way, they’ll be ready for any outdoor adventure.
FAQ
What are the most critical factors to consider when building a shelter in a survival situation?
When building a shelter, think about the weather, what materials you have, and what you need. You want protection from wind, rain, and snow. Also, being close to water and natural resources is important.
What are some common types of shelters that can be built using natural materials?
Common natural shelters include lean-to shelters and A-frame structures. You can also make debris huts or use caves or overhangs. These offer good protection from the weather.
How do I choose the best location for my shelter?
Look for a spot with natural windbreaks and close to water. Avoid areas that might flood or have loose rocks.
What are some essential tools for building a shelter?
Key tools for building a shelter are knives and cordage. You’ll also need a tarp or rope to help secure your shelter.
How can I make my shelter more weather-resistant?
To make your shelter weather-resistant, add rain and snow protection. Use wind barriers and make sure it’s stable. Anchoring it to the ground helps a lot.
What are some effective insulation methods for maintaining heat within my shelter?
Use natural insulation like leaves or pine needles to line your shelter. Creating a bed of insulation or using a sleeping bag can also keep you warm.
How can I ensure the structural integrity of my shelter?
To keep your shelter strong, use solid materials and anchor it well. Check it often for any damage or weaknesses.
What are some common mistakes to avoid when building a shelter?
Avoid choosing a bad site, using weak materials, and not securing your shelter. These mistakes can cause your shelter to collapse or get damaged.
Can I use improvised shelter methods in emergency situations?
Yes, in emergencies, you can use a tarp or plastic bag as a shelter. Creating a lean-to or debris hut can also offer temporary protection.
How can I learn more about shelter building techniques and improve my skills?
To learn more, practice and try different methods. Read guides and tutorials. Also, learn from experienced outdoor enthusiasts and survival experts.