Thinking back on my time with paracord, I remember how it saved my life in the wild. It’s not just for seasoned adventurers or craft lovers. Learning paracord techniques can unlock a world of creativity and survival tools.
My interest in paracord grew from its strength and flexibility. It’s used for making paracord bracelets and vital survival gear. This guide will cover types of paracord, basic knots, and project ideas to kickstart your paracord mastery journey.
If you’re new to paracord crafts, a step-by-step guide is key. It teaches the fundamentals of paracord and encourages you to explore its vast possibilities.
Key Takeaways
Understand the different types of paracord and their breaking strengths.
Learn basic knots and their applications.
Explore various paracord project ideas for crafting and survival.
Discover essential tools needed for paracord projects.
Master paracord techniques like Cobra weave and Fishtail weave.
Introduction to Paracord
Paracord, short for parachute cord, has grown from a military tool to a versatile crafting material. It’s important to know its origins, history, and the different types available.
What is Paracord?
Paracord is a lightweight, strong cord used by the military for parachutes. It’s loved by outdoor fans and crafters for its durability and ability to handle extreme temperatures. It’s made of many nylon strands braided together, giving it its impressive strength.
History of Paracord Usage
Paracord’s history goes back to World War II, used in parachutes. Its strength and durability made it valuable for military tasks. After the war, civilians started using it for outdoor activities, valuing its strength and versatility.
Types of Paracord
There are many paracord types, based on strength and number of strands. The most common are Type I, Type II, and Type III. Type III is the favorite among crafters and outdoor lovers for its balance of strength and thickness.
Type I: The thinnest and least strong, used for smaller projects or where less strength is required.
Type II: Offers a balance between strength and size, making it suitable for a wide range of applications.
Type III: The most commonly used, known for its durability and versatility in both crafting and outdoor use.
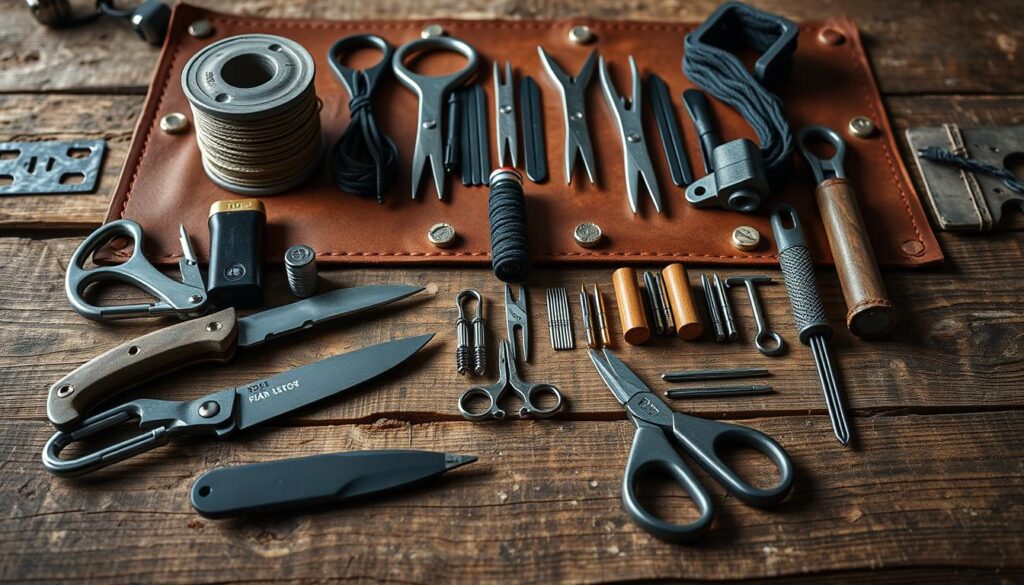
Essential Tools for Paracord Projects
Before starting a paracord project, you need the right tools. The right equipment makes the process easier and ensures your projects look great.
Cutting Tools
Cutting the paracord to the right length is the first step. You’ll need a sharp tool for this. Sharp scissors or a craft knife are must-haves. Some people also like using a rotary cutter for precise cuts.
Sharp scissors for general-purpose cutting
Craft knife for more precise cuts or thicker paracord
Rotary cutter for accuracy and ease of use
Measuring Devices
Measuring accurately is important in paracord projects. You’ll need a ruler or a tape measure for this. For detailed projects, a caliper is needed for exact measurements.
Ruler for short measurements
Tape measure for longer lengths
Caliper for precise dimensional measurements
Other Accessories
There are other tools that can make your paracord crafting better. A board or a work surface helps keep your work area stable. Clips or clamps are handy for holding things in place.
Basic Knots Every Paracord User Should Know
Learning the basic knots is key for anyone starting with paracord crafting. The paracord world is vast, but knowing these essential knots is a must. They lay the groundwork for more complex projects.
The Square Knot
The square knot, or reef knot, is a staple in paracord crafting. It’s used to connect two cord ends. Here’s how to tie it:
Hold two cord ends in each hand.
Cross the right end over the left.
Take the right end under the left.
Cross the right end over the left again.
Pull both ends to tighten.
The square knot is reliable and easy to tie. But, it can come undone if not tightened well. Make sure it’s tight.
The Bowline Knot
The bowline knot creates a secure loop at a cord’s end. It’s great for a fixed loop that won’t slip. Here’s how to tie it:
Create a small loop in the cord, with your hand inside.
Pass the standing part through the loop from underneath.
Take it around the loop and back through.
Pull the standing part to secure it.
The bowline knot is versatile and reliable. It’s perfect for when you need a secure loop.
The Figure Eight Knot
The figure eight knot prevents cord ends from slipping through pulleys or blocks. It’s a simple stopper knot. Here’s how to tie it:
Make a loop with the cord, with your hand inside.
Pass the end around the standing part and through the loop.
Pull the end to secure the knot.
The figure eight knot is effective at preventing cords from slipping. It’s a valuable knot for any paracord project.
Knot
Primary Use
Level of Difficulty
Square Knot
Joining two cords
Easy
Bowline Knot
Creating a secure loop
Moderate
Figure Eight Knot
Preventing cord slippage
Easy
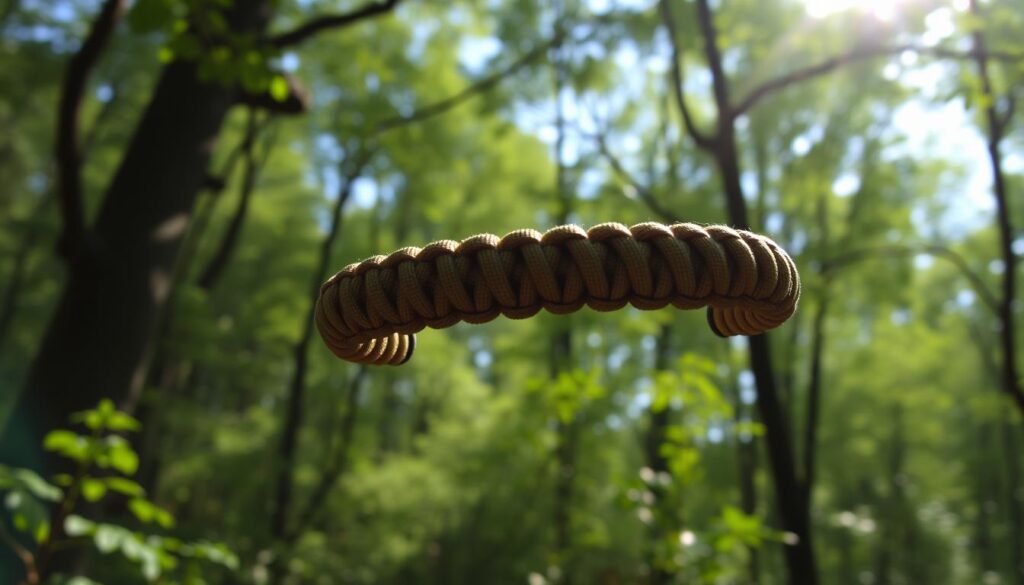
Creating Paracord Bracelets
With just a few tools and some paracord, I can make a unique bracelet. It’s a fun project that lets me show off my creativity. Plus, it’s something I can wear every day.
Materials Needed
To begin, I need a few basic things. These are:
Paracord (preferably 550 cord or Type III)
A buckle or clasp
Scissors or a cutting tool
A lighter or other ignition source
Measuring tape or ruler
Step-by-Step Instructions
Here’s how to make a paracord bracelet:
Measure your wrist to figure out how long the paracord should be.
Cut the paracord to the right length, with a bit extra for adjustments.
Make a simple knot, like a square knot, to attach one end to the buckle.
Start weaving the paracord into a bracelet pattern, like a cobra weave or simple wrap.
When the bracelet is done, tie the other end with another knot.
Trim the extra paracord and melt the ends with a lighter to stop fraying.
Tips for Customizing Your Bracelet
To make your bracelet stand out, try these ideas:
Customization Idea
Description
Use different colors
Play with different paracord colors to match your style or mood.
Add beads or charms
Include beads or charms in your weave for a personal touch.
Try different patterns
Check out various weaving patterns, like the cobra weave or king cobra weave, to add flair to your bracelet.
By following these steps and tips, I can craft a paracord bracelet that’s both stylish and practical. It’s a way to express myself every day.
Paracord Keychains: A Simple Project
Making a keychain with paracord is a great starting point. These keychains are not just useful. They also make awesome accessories that you can customize.
Required Supplies
To create a paracord keychain, you’ll need a few basic items. Here’s what you’ll need:
A length of paracord (the amount can vary depending on the design)
A keyring or ring
Scissors or a cutting tool
A lighter (optional for sealing the ends)
Instructions for Making a Keychain
Here’s a simple guide to making a paracord keychain:
Measure and cut the paracord to the right length.
Fold the paracord in half and attach it to the keyring.
Start a series of knots, like the cobra knot or square knot, for your pattern.
Secure the end with a knot and trim the excess once you’re done.
Seal the ends with a lighter if needed.
Ideas for Personalization
One of the best things about making paracord keychains is personalizing them. You can:
Use different colors or patterns of paracord to match your style or preferences.
Try out various knot patterns to make unique designs.
Add beads or other embellishments for a personal touch.
By following these steps, you can make a paracord keychain that’s both useful and shows off your style.
Advanced Paracord Projects
Advanced paracord projects are both useful and beautiful. They challenge your skills and make items for different needs.
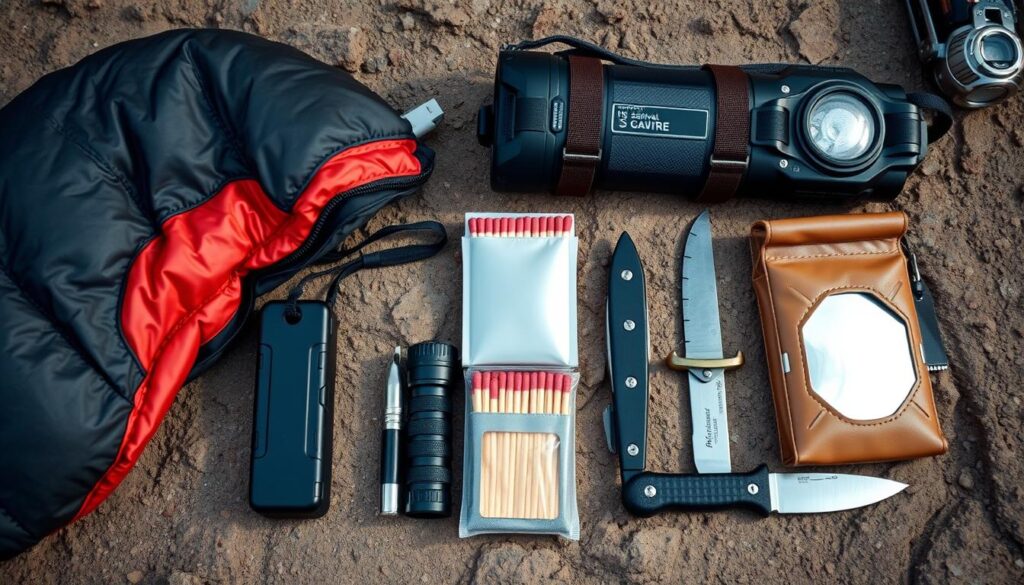
Survival Kits
Making a paracord survival kit is a great use of your skills. It includes paracord, a compass, whistle, and fire starter. To make one, you need:
A good container for your kit.
Wrap paracord around it or put it inside.
Add survival tools you need.
A paracord survival kit is very useful in emergencies. It’s a great project for outdoor lovers.
Dog Leashes
A paracord dog leash is strong and stylish. You need basic tools and paracord. Here’s how to make one:
Measure and cut the paracord to the right length.
Make a secure loop at one end for your dog’s collar.
Weave the paracord into a leash with a handle at the other end.
A paracord dog leash is not only useful but also customizable in color and pattern.
Backpacks
For hikers or backpackers, making a paracord backpack is fun. You can:
Make extra straps or strengthen the backpack with paracord.
Decorate the backpack with paracord designs.
Use paracord for the backpack’s closure.
Adding paracord to your backpack makes it more durable and personal.
These projects show how versatile paracord is. They let you use your skills to make useful and meaningful items.
Maintenance and Care of Paracord
To keep your paracord projects in top shape, proper care is key. When you put time and effort into making unique paracord items, knowing how to take care of them is important.
Cleaning Your Paracord
Cleaning your paracord is easy. Just use mild soap and water. Use a soft-bristled brush to gently scrub off dirt and grime. Then, rinse it well with clean water to avoid soap buildup.
Tip: Don’t use harsh chemicals or rough materials. They can harm the paracord’s nylon coating.
Storing Paracord Properly
Storing your paracord right is essential. Keep it in a cool, dry spot, away from sunlight. Don’t coil or twist it too tight, as it can damage the inside cords.
Using a breathable storage bag or a well-ventilated container helps prevent moisture.
Checking for Wear and Tear
Regularly check your paracord for wear and tear. This helps catch problems early. Look for frayed ends, cuts, or abrasions that can weaken it.
Check for any visible damage or wear.
Inspect the paracord’s coating for signs of degradation.
Test the paracord’s strength by gently tugging on it.
By following these simple care tips, you can make your paracord projects last longer. They will stay functional and durable.
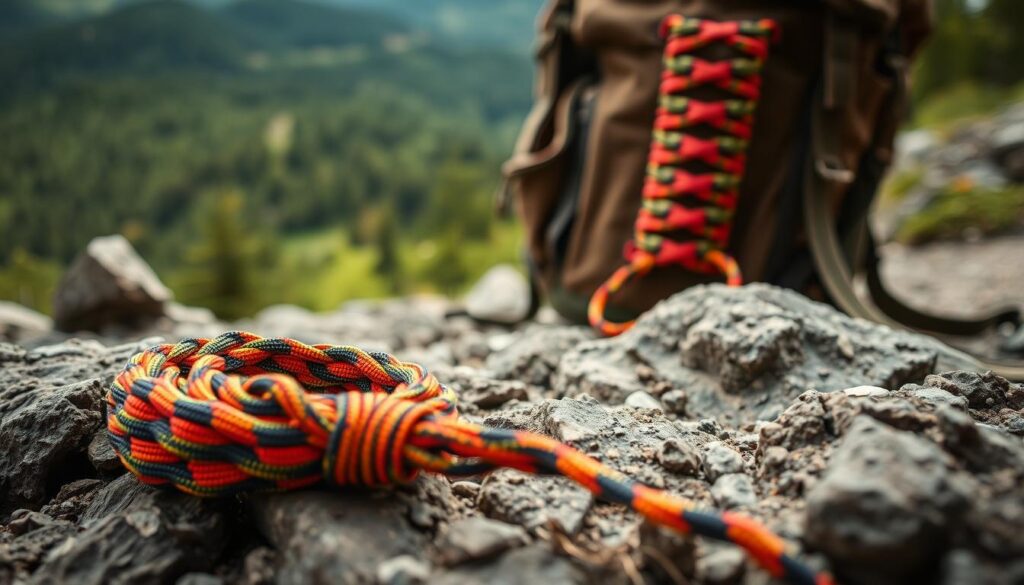
Exploring Paracord Uses Beyond Crafting
Paracord is more than just for crafting. It’s a key tool for outdoor and emergency needs. Its toughness and strength make it perfect for many tasks.
Paracord in Outdoor Activities
Outdoor lovers find paracord very useful. It helps set up camps, make shelters, or hold gear in place. Paracord stands up well to bad weather.
Here are some ways paracord is used outdoors:
Creating a clothesline or drying rack for wet gear
Securing tarps or canopies to protect against the elements
Creating a tow line or rescue rope in case of emergencies
Paracord in Emergency Situations
In emergencies, paracord can save lives. It can be a tow line, hold injured limbs, or even signal for help. Some types of paracord glow, helping to signal for rescue.
Emergency Use
Description
Tow Line
Use paracord to tow a stranded vehicle or person
Securing Injuries
Utilize paracord to secure splints or bandages in place
Signaling
Create a signal flag or reflective marker to alert rescuers
Knowing how to use paracord beyond crafting helps prepare for outdoor and emergency situations. It boosts survival chances by using paracord’s strength and versatility.
Troubleshooting Common Paracord Issues
Paracord is tough, but sometimes it can fray or have loose knots. Luckily, most problems can be fixed with a few easy steps. We’ll show you how to solve common paracord issues, keeping your projects strong and working well.
Fixing Frayed Ends
Frayed ends are common, often from cutting or heavy use. Here are a few ways to fix them:
Melting the ends with a lighter: This method seals the cord by melting the frayed parts. Be cautious not to burn the cord.
Using a whipping technique: Wrap the frayed end with thread or a smaller paracord to secure it.
Applying a cord wax or sealant: Use a wax or sealant on the frayed area to keep the fibers together.
Re-tying Loose Knots
Loose knots can weaken your paracord projects. Here’s how to tighten them:
Identify the type of knot: Know the knot type to use the right tightening method.
Pull the ends gently: Tighten the knot by gently pulling the cord ends. Avoid over-tightening.
Adjust as needed: Make sure the knot is secure and even.
Learning these fixes can help your paracord projects last longer. Whether it’s fixing frayed ends or tightening knots, these steps can greatly improve your paracord’s durability.
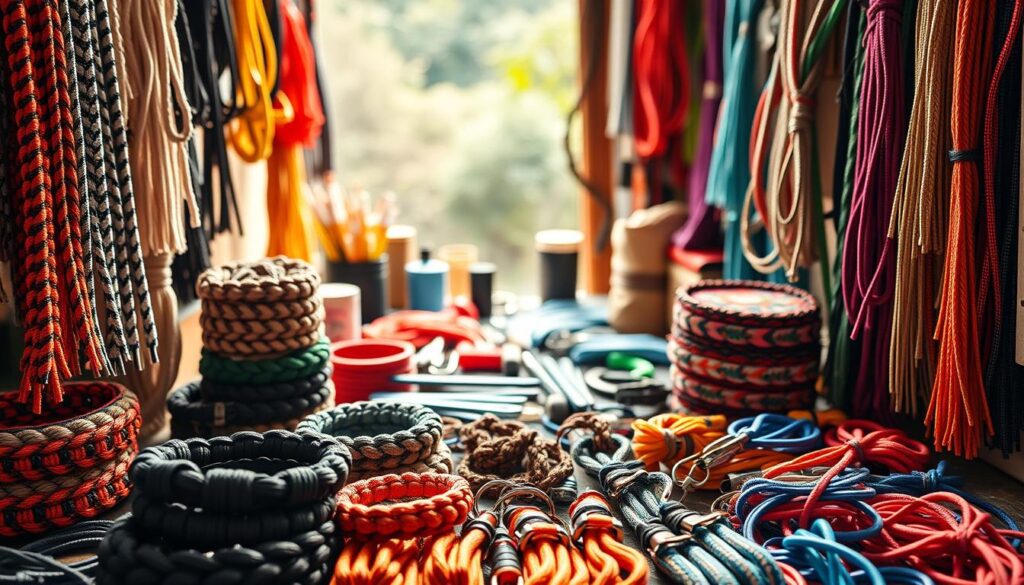
The Community and Resources for Paracord Enthuasiasts
The paracord community is huge and varied. It offers many chances to meet other fans. Joining this world can make your crafting journey better and help you learn and share.
Online forums and groups are great for connecting with others. You can post your work, seek advice, and learn from experts. Look for these on social media, forums, and discussion boards. For example, you can find workshops and events to meet people face-to-face.
Online Forums and Groups
Online forums and groups are full of useful info. You’ll find talks on everything from simple keychains to survival kits. Joining these communities lets you learn new things, share your own stories, and get feedback.
Recommended Books and Tutorials
There are also great books and tutorials to help you get better at paracord crafting. These range from beginner’s guides to advanced tutorials on knots and designs. By checking out these resources, you can keep learning and growing in your paracord skills.
Some top picks include books on paracord techniques, YouTube tutorials, and blogs like this one. These will not only boost your skills but also keep you in the loop with new trends and ideas.
Conclusion: Embracing Paracord Crafting
As we wrap up this guide to paracord mastery, it’s clear that paracord crafting is vast and varied. It ranges from simple knots to complex projects. Paracord is a versatile and reliable material for many uses.
We’ve looked at paracord’s history and types, essential tools, basic knots, and various projects. This includes bracelets, keychains, and survival kits. We’ve also talked about how to maintain and care for paracord, as well as solving common problems.
Recap of Key Points
This journey through paracord crafting has given you the skills to make useful and decorative items. By learning the basics and trying advanced projects, you’re set to explore and create with paracord.
Encouragement to Experiment and Create
Keep going on your paracord crafting path, remembering that practice and patience are essential. Feel free to try new projects and techniques. Don’t worry about failures at first. With paracord, the possibilities are endless, and there’s a community ready to help and guide you.
In conclusion, paracord crafting is more than a hobby; it’s a skill for life. By diving into paracord crafting, you’re not just making something with your hands. You’re also gaining a valuable skill for outdoor adventures, emergencies, and more.
FAQ
What is paracord, and where did it originate?
Paracord, also known as parachute cord, is a strong, lightweight cord. It was first used in parachutes. It started in the military during World War II as a parachute suspension line.
What are the different types of paracord available?
There are several types of paracord, like Type I, Type II, Type III, and Type IV. Each has different strengths and sizes. Type III is the most popular, with a breaking strength of at least 550 pounds.
What are the essential tools needed for paracord projects?
You’ll need scissors or a knife, a ruler or tape measure, and other tools like a lighter. These are key for paracord projects.
What are the basic knots that every paracord user should know?
You should know the square knot, bowline knot, and figure eight knot. These knots are useful in many paracord projects.
How do I create a paracord bracelet?
To make a paracord bracelet, you need paracord, a buckle, and a measuring tool. Follow the steps to make your own bracelet. You can also add different colors and patterns.
Can I use paracord for survival purposes?
Yes, paracord is great for survival. You can use it to make a shelter, secure gear, or as a tow line. Its strength and versatility are very useful in survival situations.
How do I maintain and care for my paracord?
To keep your paracord in good shape, clean it often, store it right, and check for damage. This will help it last longer.
What are some common issues with paracord, and how can I troubleshoot them?
Issues like frayed ends and loose knots are common. To fix frayed ends, use heat or a cord stopper. For loose knots, re-tie them correctly.
Where can I find resources and community support for paracord enthusiasts?
You can find support and resources online. Look for forums, groups, and books and tutorials. These will help you meet other enthusiasts and improve your skills.