I remember my first time wearing a paracord bracelet on a solo hike. The mountains were rugged, and I felt isolated. It made me see how vital a reliable tool is for survival.
The 550 cord is perfect for these bracelets because it’s tough and versatile. As someone who loves the outdoors, I value having emergency gear that’s both useful and hidden.
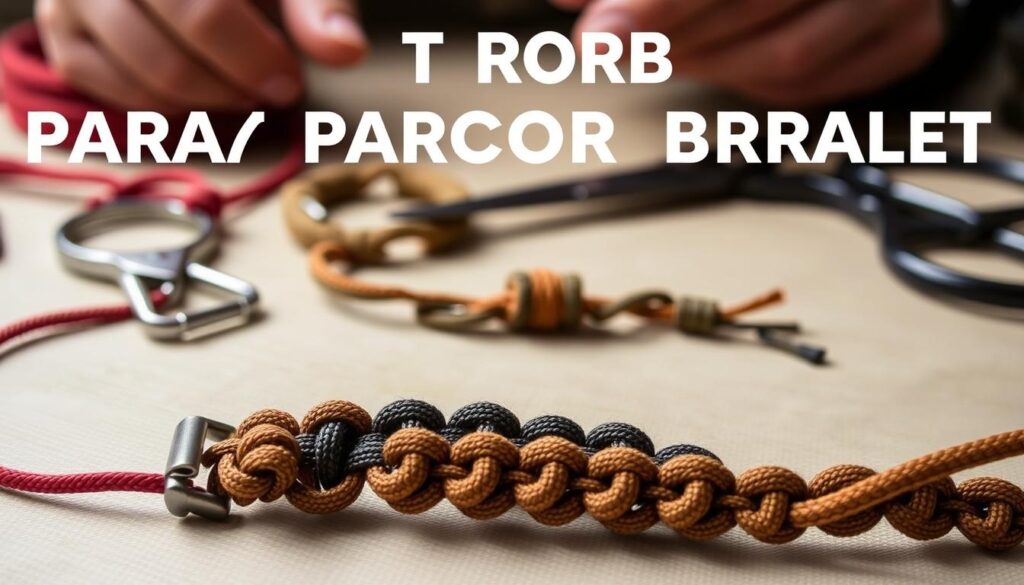
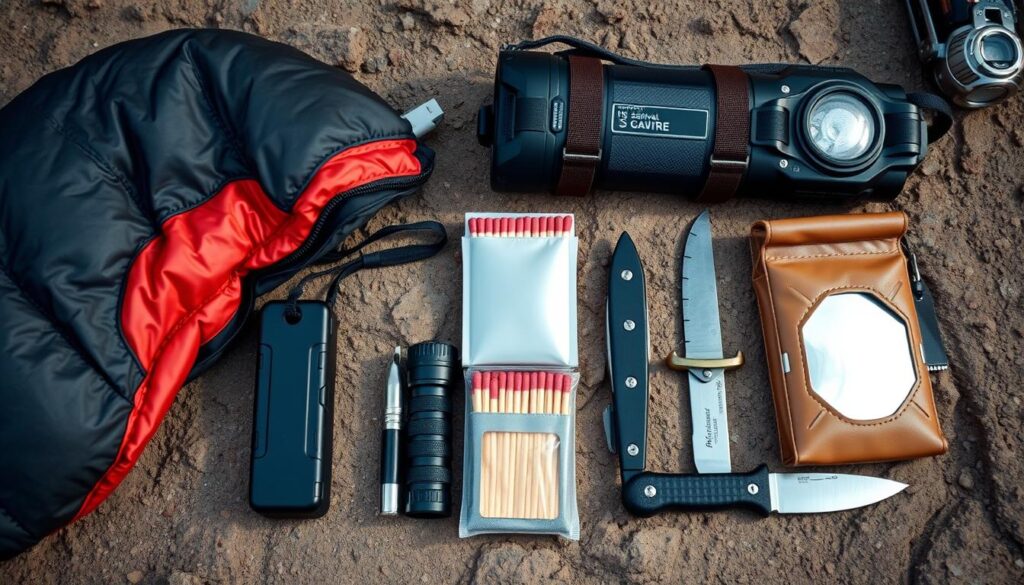
Making a survival paracord bracelet is more than a hobby. It’s about being ready for anything. In this guide, I’ll show you how to make your own outdoor survival bracelet. It could save your life.
Key Takeaways
Understand the importance of a paracord bracelet in outdoor scenarios.
Learn about the durability and utility of the 550 cord.
Discover how to craft a survival paracord bracelet.
Appreciate the value of having emergency gear that’s both functional and discreet.
Be prepared for the unexpected with a simple, effective tool.
What is a Survival Paracord Bracelet?
I’ve always been fascinated by paracord’s utility in survival situations. A survival paracord bracelet is more than a stylish accessory. It’s a versatile tool used in military and outdoor activities.
The History of Paracord
Paracord was first used in World War II for parachute lines. It has a rich history of reliability and durability. Astronauts on the 82nd Space Shuttle mission used it, making it even more famous.
The evolution of paracord from a functional item to a survival tool shows its enduring utility.
Benefits of a Paracord Bracelet
Wearing a paracord bracelet has many benefits. It can be a lifeline in survival situations. It also serves as a practical tool for tasks like securing gear or creating a makeshift tow line.
Preppers and survivalists love the paracord bracelet for its multipurpose functionality.
Popular Uses for Paracord
Paracord is versatile, used in many ways. It’s great for outdoor and survival applications and as everyday carry gear. It’s a key item in bugout bags and for camping, hiking, and emergencies.
The paracord bracelet is valued for its ability to provide cordage when needed.
Essential Materials for Crafting
To start making a survival paracord bracelet, I need to gather the right materials. First, I must understand the types of paracord and tools needed for the project.
Types of Paracord to Use
The 550 Parachute Cord is the most common choice for survival bracelets. It’s durable and versatile. The cord has an inner core and an outer sheath. It can handle up to 550 pounds of tension.
Tools I Need for the Project
To make a paracord bracelet, I’ll need some basic tools. These include:
A pair of sharp scissors or a craft knife for cutting the paracord.
A lighter or a heat source to melt the ends of the paracord, preventing fraying.
A measuring tape or ruler to measure out the correct length of paracord.
A simple tool like a paracord needle or a fidgit can be helpful for certain knot patterns.
Tool
Purpose
Scissors/Craft Knife
Cutting Paracord
Lighter/Heat Source
Melt Paracord Ends
Measuring Tape/Ruler
Measure Paracord Length
Paracord Needle/Fidgit
Assist with Knot Patterns
Having the right materials and tools is key for making a survival paracord bracelet. With these essentials, I’m ready to design my bracelet.
Designing Your Bracelet
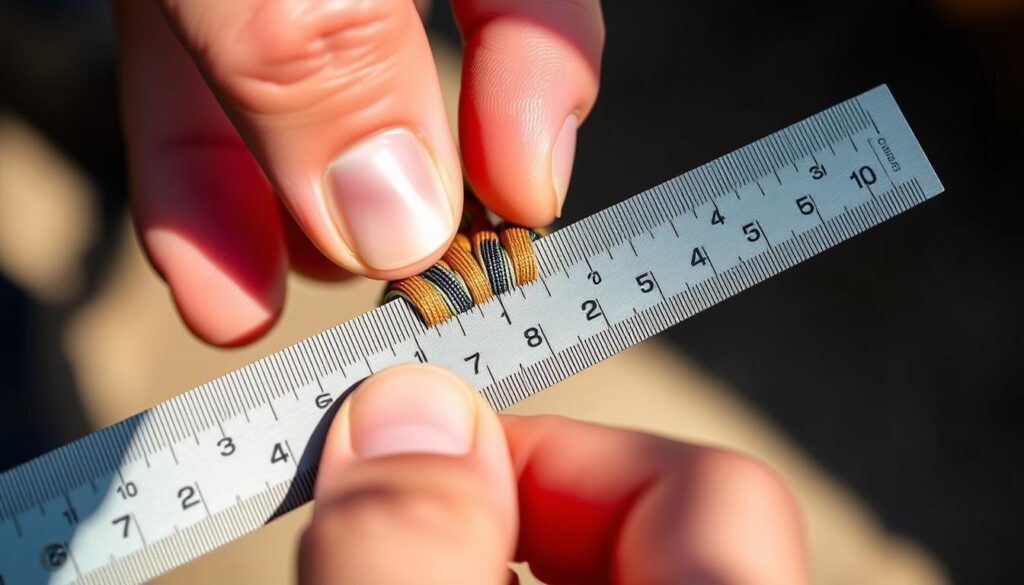
To make a paracord bracelet that fits right, I need to pick the perfect length. The bracelet’s inner core should be about twice my wrist’s circumference. I add a bit extra for flexibility.
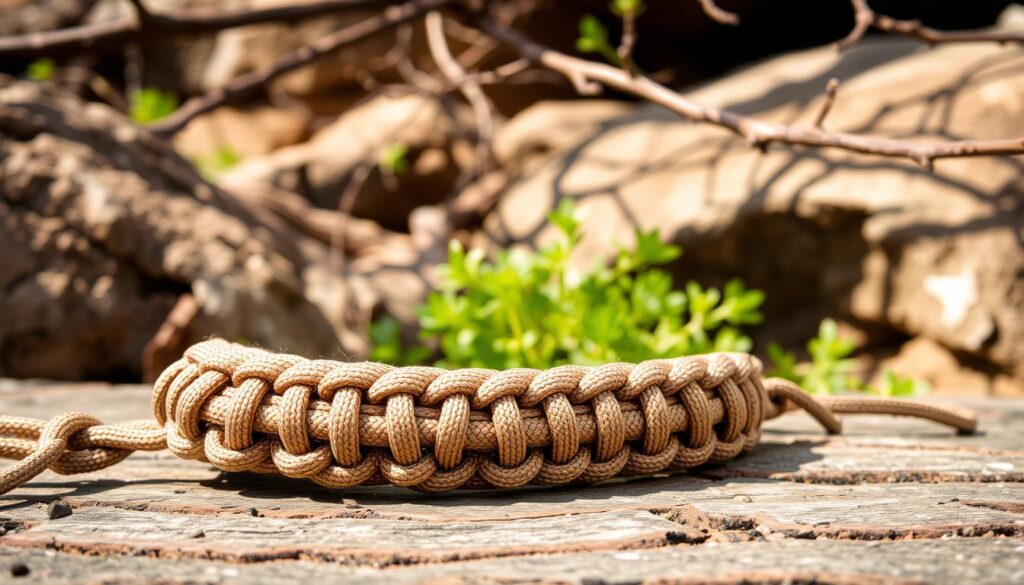
Choosing the length involves more than just wrist size. I also think about the knot type and how it changes the bracelet’s length. For example, a Cobra knot makes the bracelet shorter than a simple knot.
Choosing the Right Length
The bracelet’s length is key for a good fit. I start by measuring my wrist’s circumference. Then, I double it to find the inner length of the paracord. Adding a few inches ensures it’s not too tight or too loose.
For instance, if my wrist is 7 inches, I need about 14 inches of paracord for the core. I add more for the knots and adjustments. The exact length depends on the design and knotting method.
Deciding on Patterns and Colors
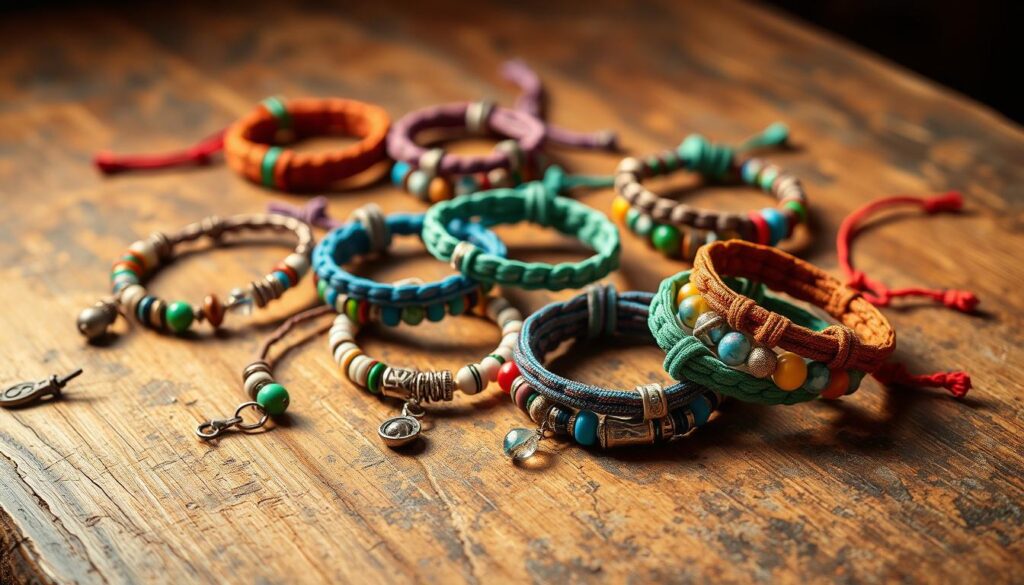
After figuring out the length, I move on to the design. Paracord offers many colors and patterns for customization. I can pick one color, mix them, or add camouflage.
Popular designs include solid colors, stripes, and glow-in-the-dark paracord. My choice depends on my taste, the bracelet’s purpose, or as a special touch for a gift.
Key considerations include:
The color scheme should match the wearer’s style.
The pattern should look good and not be too busy.
For survival or tactical use, function and camouflage are more important than looks.
Step-by-Step Instructions
To make a survival paracord bracelet, follow these steps. Start by laying the inner core on a flat surface.
Preparing the Paracord
Place the inner core on a flat surface or your lap. Fold your paracord in half and put it behind the core. Make an “S” shape with the right piece, with the top behind the core and the bottom in front. This is the first step to making your bracelet.
Making the Bracelet Knot
To make the bracelet knot, cross the right cord over the left. Then, take the left cord and pass it through the loop you just made. Pull the cords gently to tighten the knot. Keep doing this along the bracelet, making sure the knots are snug and even.
Key to a secure knot:
Keep the tension even
Ensure the knots are snug
Adjust as necessary
Adding Additional Features
After you have the basic knot, you can add beads or charms. Just slide them onto the paracord before you start knotting. As you knot, the beads or charms will be locked in place. This lets you make your bracelet more personal and useful.
Safety Considerations
When you start making a paracord bracelet, safety is key. You’ll be using sharp tools like scissors or knives. This means you need to be very careful and focused.
Working with Sharp Tools
It’s important to hold the tool and paracord tightly to avoid accidents. Always cut away from your body. Keep your fingers out of the blade’s way. For more tips, check out paracord crafting resources.
Safe handling techniques include:
Keeping the work area clear of clutter
Ensuring good lighting
Using tools with caution and storing them safely after use
Testing the Strength of Your Bracelet
After you finish your bracelet, test its strength. This is important for survival situations. Gently tug on the bracelet to check its integrity and make sure the knots are secure.
Test Type
Description
Expected Outcome
Gentle Tug
Checking the bracelet’s integrity
The bracelet should feel sturdy
Knot Security Check
Verifying the knots are secure
No slippage or looseness
Regularly inspecting your paracord bracelet will help you identify any weaknesses early on.
Customizing Your Paracord Bracelet
To make your paracord bracelet special, think about adding beads, charms, or an emergency whistle. Customizing it not only makes it unique but also adds to its usefulness.
One easy way to customize your bracelet is by adding decorative elements. Adding beads and charms is a favorite way to personalize it. Beads come in many materials like metal, wood, or glass, so you can pick styles that match your taste.
Adding Beads and Charms
When adding beads or charms, think about their size and weight. They should fit well with your bracelet’s design. Big beads can be used as highlights, while small ones can blend into the weave. Charms can add a personal touch, like initials or important life events.
Choose beads that fit your style and the bracelet’s design.
Consider the material and texture of the beads for a cohesive look.
Charms can be added to signify personal milestones or preferences.
Incorporating Emergency Whistles
Adding an emergency whistle to your paracord bracelet boosts its survival value. An emergency whistle is key in survival, helping you signal for help over long distances. Many bracelets have a built-in whistle in the buckle, making it a discreet yet lifesaving feature.
When adding a whistle, make sure it’s securely attached. This way, it won’t come off when you need it most. The design should look good and work well, so the bracelet is both stylish and practical.
Select a suitable emergency whistle that is loud and durable.
Ensure the whistle is securely attached to the paracord bracelet.
Test the whistle to confirm it is functioning correctly.
Caring for Your Paracord Bracelet
To keep my paracord bracelet in top shape, I follow a few key steps. These include regular cleaning, proper storage, and occasional inspections. This way, my bracelet stays durable and looks great.
Cleaning and Maintenance Tips
Cleaning my paracord bracelet is easy. I use mild soap and lukewarm water to clean it. It’s important to steer clear of harsh chemicals or rough cleaners that can harm the cord.
Key cleaning steps include:
Gently scrub the bracelet with a soft-bristled brush or cloth.
Rinse thoroughly with clean water.
Dry the bracelet away from direct sunlight to prevent fading.
For stubborn stains, I might use a mix of water and mild detergent. But, I always make sure to rinse it well to get rid of any soap.
Storing Your Bracelet Properly
When I’m not wearing my paracord bracelet, I store it carefully. I don’t coil it too tight to avoid creases or damage. Instead, I coil it loosely and tie it up with a simple knot or a small clip.
Storage Tips
Benefits
Loosely coil the bracelet
Prevents creasing and damage
Avoid direct sunlight
Reduces fading
Keep away from harsh chemicals
Prevents damage from chemicals
By sticking to these easy care and maintenance tips, my paracord bracelet stays strong and reliable for years.
Common Mistakes to Avoid
Making a paracord bracelet can be rewarding but comes with challenges. It’s easy to make mistakes that can hurt the bracelet’s durability and use. Knowing these mistakes helps make a stylish and reliable bracelet.
Getting the measurements right is key. Incorrect measurements can make the bracelet too tight or too loose. This affects its comfort and use. Always measure your wrist accurately and add extra for the buckle and adjustments.
Pitfalls in Measurements
Measuring for a paracord bracelet can be tricky. Not considering the buckle size or the paracord’s thickness can lead to a bad fit. Also, newbies might miscalculate the length for patterns. Double-check your measurements and think about the paracord and buckle sizes.
Issues with Knotting Techniques
Knotting is essential in making a paracord bracelet. Common knotting mistakes include uneven tension and wrong patterns. These can weaken the bracelet. Practice consistent tension and stick to established patterns.
In summary, knowing common mistakes in paracord bracelet making is important. This includes measurement and knotting issues. By understanding these, you can craft a durable and stylish bracelet.
Expanding My Skills: Beyond Bracelets
After mastering paracord bracelets, I wanted to try more. I started looking into other paracord projects. These projects were not only fun but also helped me grow as a crafter.
Creating Other Paracord Projects
I enjoyed making paracord accessories like dog collars and keychains. These projects needed different skills and techniques. For example, making a dog collar involves measuring the dog’s neck and picking the right buckle.
I also tried making paracord plant hangers, wristwatch straps, and wall hangings. Each project had its own challenges. But, they all showed me how versatile paracord can be.
Exploring Advanced Knot Techniques
Learning advanced knot techniques was a big step for me. I learned knots that are both decorative and functional. The Prusik knot, for instance, is great for creating a temporary anchor or for climbing.
Project
Skills Required
Applications
Paracord Dog Collar
Measuring, Clasp Selection
Pet Accessories
Paracord Keychain
Knot Tying, Length Adjustment
Accessories, Gifts
Paracord Plant Hanger
Pattern Design, Length Calculation
Home Decor
In conclusion, exploring beyond paracord bracelets was rewarding. It brought new challenges and learning opportunities. Through various projects and knots, I’ve grown as a crafter and discovered paracord’s vast uses.
Where to Buy Quality Paracord
Quality is key when buying paracord. To get the best for your survival bracelet, choose reputable sources.
You can find quality paracord online or in stores. Amazon and REI have a wide range of paracord products. Outdoor gear stores and paracord specialty shops also offer high-quality options.
Recommended Brands and Products
Top brands for paracord include Paracord Planet, Rogue River Tactical, and ATC Nylon. They offer paracord that meets military standards.
Think about what type of paracord you need. Type III is great for bracelets because it’s strong and versatile. Look for “Mil-Spec” or “Military Spec” labels to ensure quality.
Brand
Product Type
Price Range
Paracord Planet
Type III Paracord
$5-$10
Rogue River Tactical
550 Paracord
$3-$8
ATC Nylon
Mil-Spec Paracord
$4-$12
Pricing Considerations
Paracord prices vary by brand, quality, and quantity. Expect to spend $3 to $12 for 100 feet, depending on the type and brand.
Buying in bulk or larger spools can save money. Keep an eye out for discounts and promotions to get the best deal.
Sharing My Experience
As I finish my survival paracord bracelet, I feel proud and connected to a community. This community values being prepared and making things with care. Joining a paracord crafting group lets me share my journey and learn from experts.
By talking with others who love paracord, I discover new ways to make things. I learn about different patterns and stay up-to-date with paracord trends. I also get to show off my paracord creations and hear what others think.
Joining Paracord Crafting Communities
To join this community, I can search for online forums, social media groups, or local clubs. These places are where I can share my work, ask questions, and learn from others.
Showcasing My Finished Products
After making my paracord bracelet, I can post it on Instagram, YouTube, or crafting forums. This way, I can get feedback and support from the paracord community. It’s a great way to show off my paracord creations.
FAQ
What is a survival paracord bracelet?
A survival paracord bracelet is a wearable item made from strong paracord. It’s used for securing, tying, or signaling in emergencies. It also looks good as a fashion accessory.
What type of paracord should I use for my bracelet?
For a survival paracord bracelet, use 550 cord. It’s strong and durable, perfect for survival needs.
How do I choose the right length for my paracord bracelet?
Choose a length based on your wrist size and design complexity. For most adults, 7 to 9 feet is ideal.
Can I customize my paracord bracelet with additional features?
Yes, you can add beads, charms, or emergency whistles. This makes your bracelet more functional and personal.
How do I care for my paracord bracelet?
To keep your bracelet in good shape, clean it with mild soap and water. Dry it well and store it in a cool, dry place.
What are common mistakes to avoid when making a paracord bracelet?
Avoid mistakes like wrong measurements and bad knotting. Also, don’t skip testing the bracelet’s strength. These errors can make your bracelet weak or unreliable.
Where can I buy quality paracord for my project?
Find quality paracord at outdoor stores, online on Amazon, or at paracord specialty shops. Make sure to buy from trusted brands and suppliers.
How can I share my paracord crafting experience with others?
Share your experience by joining paracord crafting groups. Show off your work on social media or in online forums. This way, you can connect with others who love paracord crafting.