Building a DIY A-Frame Shelter is a key survival skill. It keeps you safe from the weather. My first time building one was tough but taught me a lot.
Choosing the right location and having enough time for construction are key factors in building a reliable shelter. In this tutorial, I will guide you through the process of building an A-Frame Shelter from scratch. We’ll cover everything from site preparation to adding insulation.
Key Takeaways
Plan your shelter construction according to the available time and resources.
Choose a suitable location for your shelter to ensure protection from the elements.
Prepare the necessary materials and tools before starting construction.
Follow a step-by-step approach to building the frame and adding insulation.
Test your shelter for durability and make necessary adjustments.
What is an A-Frame Shelter?
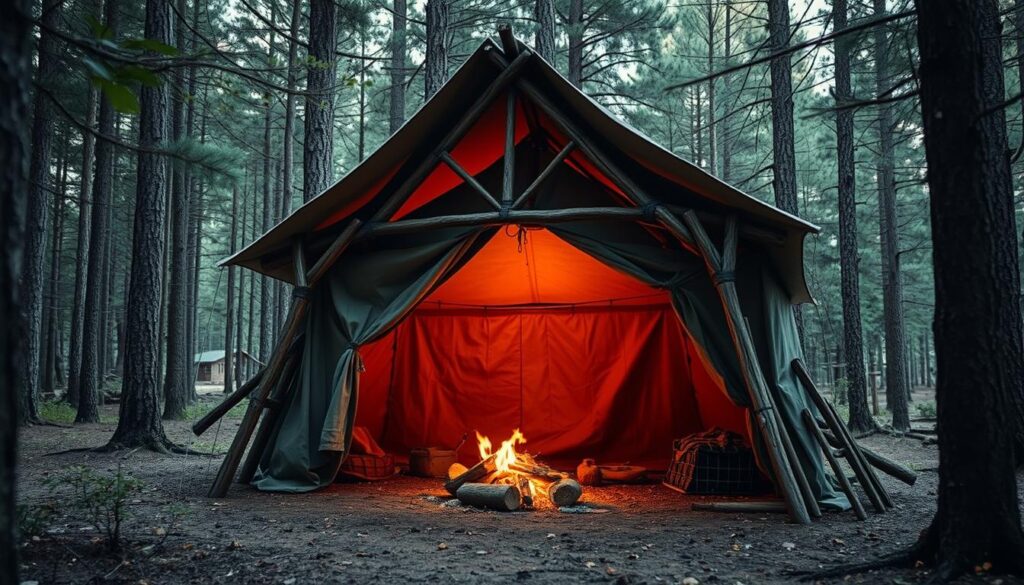
An A-Frame shelter is a great choice for quick and strong structures. It has a simple design with a ridgepole and two arms for the entrance.
Key Features of an A-Frame Shelter
The A-Frame shelter is known for its simple and sturdy design. It’s easy to build and keep up. The design helps keep you warm and protects you from wind and rain.
Benefits of Building an A-Frame Shelter
Building an A-Frame shelter has many advantages. It offers protection from the elements and is easy to build. It’s also versatile and adaptable for different places and needs.
Shelter Type
Ease of Construction
Protection from Elements
A-Frame
Easy
High
Lean-To
Very Easy
Moderate
Debris Hut
Moderate
High
Understanding the A-Frame shelter’s features and benefits shows its value for outdoor needs.
Materials Needed for My A-Frame Shelter
To build a sturdy A-Frame shelter, I need to prepare the essential tools and materials. The right equipment makes the construction process smoother. It also ensures the structure is safe and durable.
Essential Tools for Construction
Having the right tools is key for building my A-Frame shelter efficiently. I’ll need a knife or saw for cutting branches, a rope or twine for securing the structure, and a mallet for tapping pieces into place.
A sharp knife or saw for cutting wood
Rope or twine for tying the structure together
A mallet for securing the frame
Suggested Building Materials
The choice of building materials is important for the durability and functionality of my A-Frame shelter. I’ll need sturdy branches for the frame, materials for thatching or roofing, and possibly insulation for comfort.
Material
Use
Characteristics
Sturdy Branches
Frame of the shelter
Strong, durable, resistant to weather
Leaves or Thatching Material
Roofing and insulation
Water-resistant, abundant, easy to work with
Ridgepole
Main support beam
Sturdy, straight, durable
Safety Gear I Recommend
Safety is my top priority when building my A-Frame shelter. Wearing the right safety gear can prevent injuries and ensure a safe construction process.
Essential Safety Gear:
Gloves to protect my hands from splinters and cuts
A first-aid kit for treating minor injuries
Eye protection to prevent debris from getting into my eyes
By gathering the necessary materials, tools, and safety gear, I can ensure that my A-Frame shelter is built to last. It will provide a safe haven.
Planning My A-Frame Shelter Design
Before I start building my A-Frame shelter, I must plan its design carefully. I need to think about size and layout. This planning step is key to making sure the shelter fits my needs and is built well.
The size of the A-Frame shelter is very important. It affects how functional and comfortable it will be. I must consider how many people will use it, what it will be for, and how much space I have.
Choosing the Right Size
When picking a size, I should also think about future needs and possible expansions. A well-designed A-Frame shelter plan should be big enough for comfort but small enough to save money.
Here are some things to think about when choosing size:
The number of people the shelter will hold
What it will be used for (temporary, seasonal, or permanent)
My budget for building and upkeep
The space I have on my property
Creating Detailed Blueprints
After deciding on size, I need to make detailed blueprints of my A-Frame shelter. This means drawing up a detailed plan that shows the layout, structure, and important features.
These blueprints will guide me during construction. They help avoid mistakes and make sure the shelter is what I want. They should list the materials, dimensions, and any special needs.
By spending time on accurate blueprints, I can build my A-Frame shelter efficiently. It will meet my needs and provide a cozy place to live.
Preparing the Site for Construction
Getting the site ready is key to building a strong A-Frame Shelter. A well-prepared site means the shelter will last longer and be more stable.
As builders say, “A good foundation is key to a successful construction project.” This shows how important site preparation is for a Portable A-Frame Shelter.
Selecting the Perfect Location
Choosing the right spot for my A-Frame Shelter is important. The site should drain well to avoid water problems. It should also be flat and free of debris.
For more help on building an A-Frame Shelter, check out this tutorial. It has detailed steps for making a survival shelter.
Clearing the Area and Marking Boundaries
After picking the perfect spot, I clear the area of debris and plants. This makes the site ready for building.
Then, I mark the Portable A-Frame Shelter‘s area with stakes and twine or a rope. This makes it easier to see the space and keep the build within the area.
By carefully preparing the site, my A-Frame Shelter will have a solid foundation. This makes it more durable and useful.
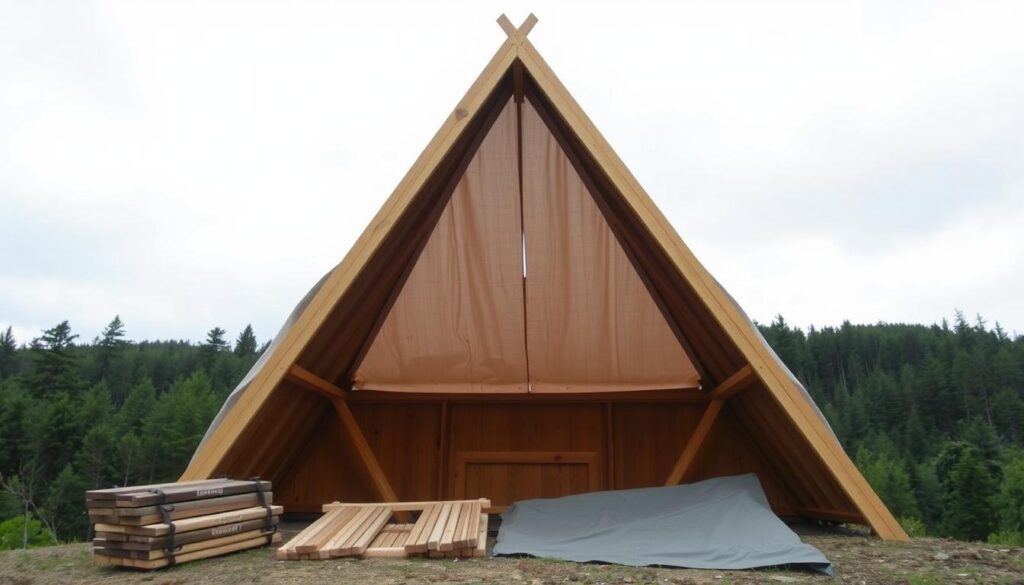
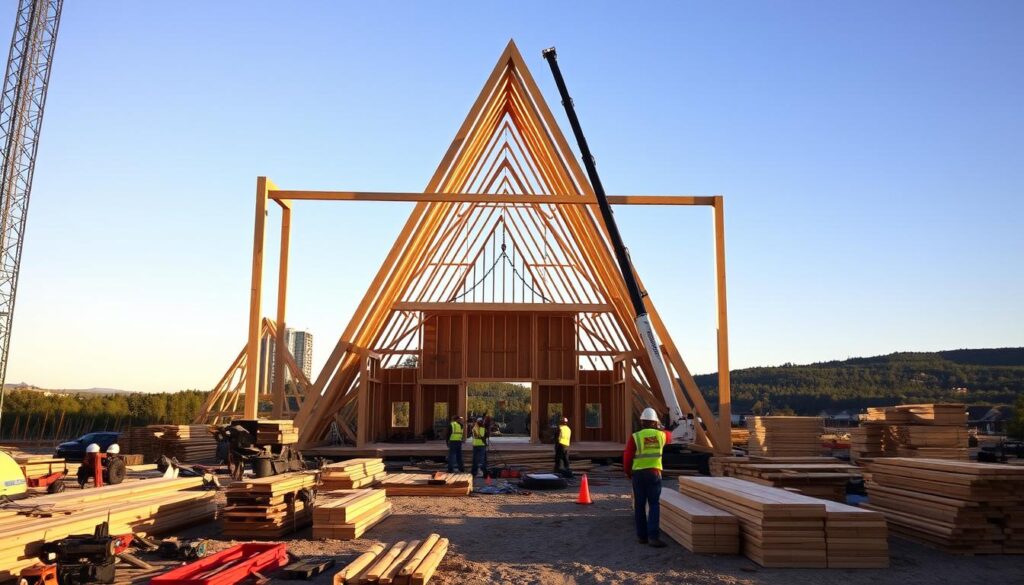
Erecting the Frame of My Shelter
Now that the site is ready, I can start building the frame of my A-Frame shelter. This step is key in the A-Frame Shelter Construction process. It sets the base for the whole shelter.
The frame gives my shelter its shape and holds up the roof and walls. I’ll use strong branches or poles for the skeleton of my DIY A-Frame Shelter.
Constructing the Base Structure
The base structure is the foundation of my shelter. I’ll start by laying two parallel beams on the ground. They must be level and steady.
Then, I’ll connect the beams at the top with a ridge pole. This creates the ‘A’ shape of my shelter. This triangle is the heart of the A-Frame design, making it strong.
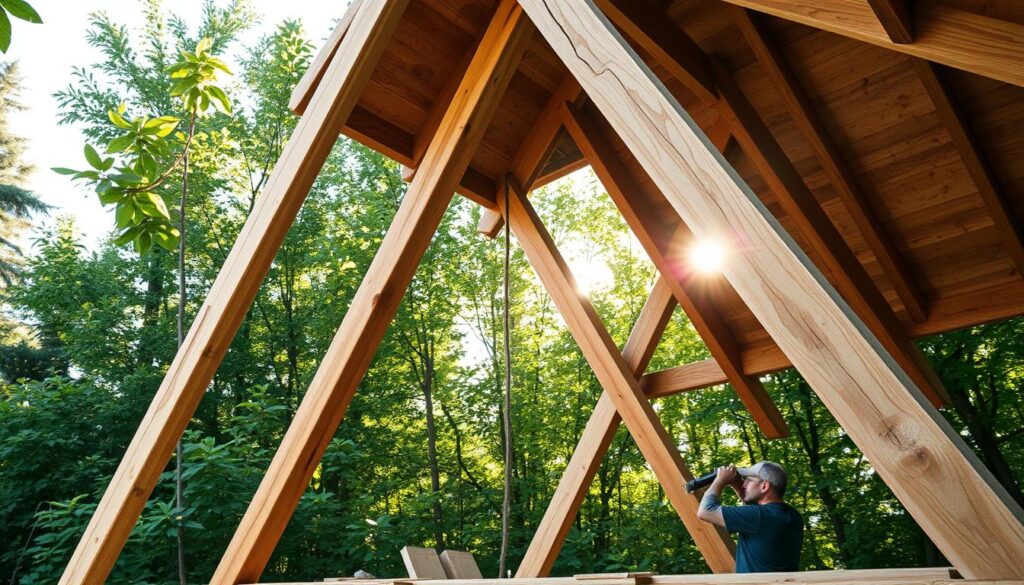
Adding Vertical Supports
After the base triangle is set, I’ll add vertical supports. These make the structure more stable and give a place to attach walls and roofing.
These supports will be placed along the base beams. This ensures the frame stays firm and can handle different weather conditions.
By building the frame and adding supports, I’m making a solid base for my A-Frame shelter. This brings my DIY A-Frame Shelter project closer to being finished.
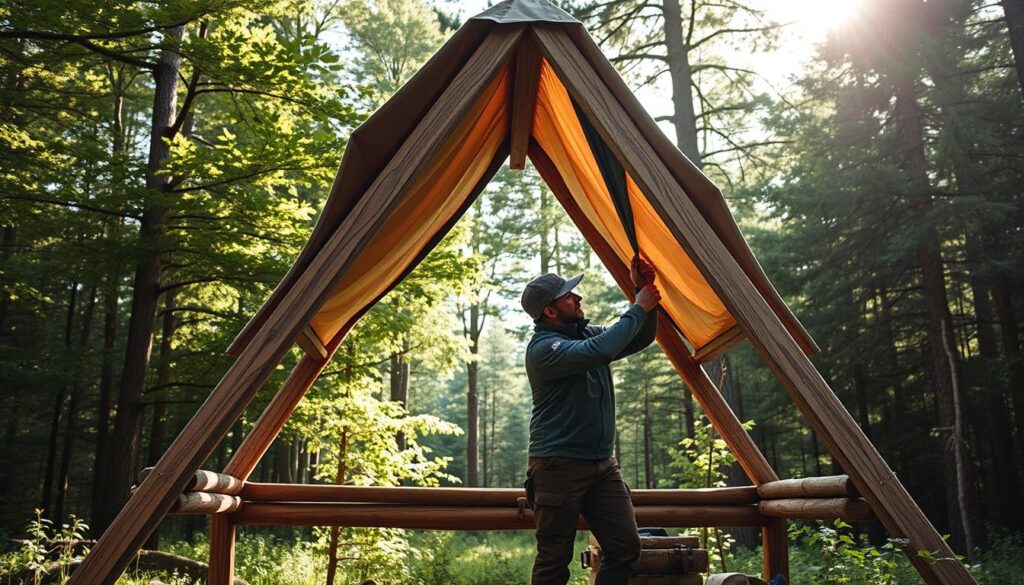
Installing the Roof for Weather Protection
The roof of my A-Frame Shelter is its most critical part. It keeps me safe from bad weather. A good roof keeps the inside dry and warm.
Choosing Suitable Roofing Materials
When picking roofing for my A-Frame Shelter, I look at durability, weather resistance, and looks. Natural materials like leaves or branches give a rustic feel. Modern options like asphalt shingles or metal are durable and easy to care for.
The right choice depends on the weather and the look I want. For example, a steeper roof is better in snowy areas to avoid collapse. In warm places, I choose materials that reflect sunlight and heat.
Techniques for Roof Installation
Installing the roof right is key to the shelter’s safety. I start with a waterproof layer, like a membrane or underlayment, to stop leaks. Then, I put on the roofing material, making sure it’s tight to handle wind and weather.
Proper ventilation is also important to avoid moisture buildup. This can cause mold and damage. Layering and staggering the material make the roof last longer and look better.
By picking the right materials and using smart installation methods, my A-Frame Shelter stays safe and cozy.
Adding Insulation to My A-Frame Shelter
Building a well-insulated A-Frame shelter is key. Proper insulation keeps you warm and cozy inside. It’s a vital part of A-Frame Shelter Construction.
Choosing the right insulation material is important. It depends on what’s available, how much it costs, and how well it works.
Types of Insulation to Consider
There are many insulation options for my A-Frame shelter. Natural materials like leaves, moss, and pine needles are great. They’re easy to find and work well.
Leaves: Dry leaves can fill gaps and keep you warm.
Moss: It’s a good insulator and looks nice inside the shelter.
Pine Needles: These needles also keep you warm and are easy to find.
I can also look into synthetic insulation if it’s available. These materials are often better and last longer than natural ones.
Steps for Proper Installation
To insulate well, I need to install it right. First, I clear the shelter and make sure it’s dry.
Spread the insulation material evenly to cover all areas.
Use enough insulation to keep you warm.
Try mixing different materials for even better insulation.
By choosing the right materials and following these steps, my A-Frame shelter will stay warm and cozy, even when it’s cold outside.
Finishing the Interior of My A-Frame Shelter
To make my A-Frame shelter livable, I need to pick the right materials and design useful spaces. The interior finish is key. It turns the basic structure into a cozy, comfy home.
Choosing the right wall materials is a big decision. It affects the shelter’s look and how well it works.
Wall Materials I Can Use
When picking wall materials, I think about durability, insulation, and looks. Here are some options:
Natural materials like branches and leaves for a rustic feel.
Reclaimed wood for character and sustainability.
Insulated panels for better energy use.
A study on green building says using local materials cuts down environmental harm (
). This idea helps me choose wall materials for my A-Frame shelter.
Material
Durability
Insulation Properties
Aesthetic Appeal
Branches and Leaves
Low
Medium
High
Reclaimed Wood
High
Medium
High
Insulated Panels
High
High
Medium
Creating Functional Spaces
It’s important to make my A-Frame shelter functional. I need to plan and design well to use space wisely.
To do this, I can:
Set up areas for sleeping, cooking, and relaxing.
Choose furniture that does more than one thing to save space.
Add storage to keep things tidy.
By picking the right materials and designing smart spaces, I can make a Portable A-Frame Shelter that looks good and works well. It’s all about finding a balance between looks and function. This way, the shelter meets my needs and is easy to care for.
Installing Windows and Doors
Installing windows and doors is key to making my DIY A-Frame Shelter cozy. It lets in air and helps keep the shelter warm in winter and cool in summer.
When picking windows and doors, keeping energy use low is important. I need to find options that help save heat in winter and stay cool in summer.
Choosing Energy-Efficient Options
To save energy, I should look for windows and doors that block heat. Double-glazed windows cut down heat loss a lot. Insulated doors with tight seals also help keep cold air out.
A study found that double-glazed windows can cut heat loss by up to 50%.
“The use of double-glazed windows is a simple yet effective way to enhance the energy efficiency of a building.”
Feature
Single-Glazed Windows
Double-Glazed Windows
Heat Loss
High
Low
Energy Efficiency
Low
High
Cost
Low
Moderate to High
Proper Installation Techniques
Installing windows and doors right is as important as picking the right ones. I need to make sure they’re installed well to last long and save energy.
Make sure the windows and doors are securely fastened to handle weather.
By choosing energy-saving windows and doors and installing them correctly, I can make my A-Frame Shelter more comfortable and eco-friendly.
External Features for My A-Frame Shelter
As I finish the basic structure of my A-Frame shelter, I’m eager to add external features. These features will make the shelter more functional and beautiful. They also help it blend in with its surroundings.
One key feature is a porch or deck. It adds outdoor living space. This can be for relaxing or entertaining. When building a porch or deck, choose materials that last through different weather.
Building a Porch or Deck
Designing my porch or deck requires careful thought. I must consider size, material, and style. The size should match the shelter, and the material should be durable and easy to care for. For example, pressure-treated wood or composite materials are good choices.
The building process starts with planning and designing. Then, I make sure it’s level and securely attached. It’s also important to follow local building codes.
Landscaping Around the Shelter
Landscaping around my A-Frame shelter is vital for its look. By picking the right plants, I can make the shelter look like it’s part of nature. This makes it more welcoming.
When landscaping, I choose plants that fit the area. This makes upkeep easier and helps the shelter blend in. Adding outdoor lighting also makes the shelter look better and safer.
By carefully choosing and adding these features, I can make my A-Frame shelter more functional and attractive. It becomes a more enjoyable and welcoming place.
Maintenance Tips for Longevity
To keep my A-Frame shelter safe and working well, regular upkeep is key. I need to do seasonal check-ups to spot issues early. This way, I can fix them before they get worse.
Seasonal Inspections
I should check the shelter’s structure, roof, and windows often. This helps me find any weak spots or damage. Using strong materials helps the shelter handle weather better. For tips on making my home safer, I can look at disaster-proofing strategies.
Repairing Common Issues
Fixing problems like leaks or roof damage quickly is important. This stops bigger issues from happening. By keeping up with local risks and new info, my shelter stays safe. Keeping the shelter’s parts in good shape is vital for A-Frame Shelter Maintenance.
FAQ
What is the ideal size for an A-Frame shelter?
The best size for an A-Frame shelter depends on who will use it and how. A good starting point is an 8×10 feet size for a basic shelter.
What materials are needed to build an A-Frame shelter?
You’ll need basic tools like a knife or saw, and materials like branches and leaves. Don’t forget safety gear like gloves and a first-aid kit. You can also use a shelter kit or DIY plans.
How do I choose the perfect location for my A-Frame shelter?
Look for a spot that’s level, dry, and protected from wind and rain. Clear the area and mark the boundaries for a stable foundation.
What type of insulation is best for an A-Frame shelter?
Insulation choice depends on the climate and use. Consider natural materials like wool or synthetic options like foam board.
How do I maintain my A-Frame shelter?
Do seasonal check-ups to spot damage and make repairs. This keeps your shelter stable and secure, extending its life.
Can I build a portable A-Frame shelter?
Yes, use lightweight materials and design for easy disassembly. This is great for temporary or seasonal use.
What are the benefits of building an A-Frame shelter?
An A-Frame shelter is sturdy, protects from elements, and retains heat. It’s also affordable and eco-friendly.
How do I install windows and doors in my A-Frame shelter?
Choose energy-efficient options and follow proper installation. This ensures a tight seal and keeps the shelter comfortable.
Can I add external features to my A-Frame shelter?
Yes, add features like a porch or deck, or landscaping. This improves functionality and looks.
What are the key features of an A-Frame shelter design?
A-Frame shelters have a triangular shape, sloping roof, and simple frame. This design offers great protection and can use various materials.