When you go into the wilderness, being ready for surprises is key. Battlbox says almost 80% of survival needs come from unexpected events like getting lost or sudden weather changes. Having a good shelter can save your life.
An emergency shelter is vital for survival, keeping you safe from bad weather and wild animals. In this guide, I’ll show you how to make a solid shelter. It will help you stay safe until help comes or you find your way back.
Key Takeaways
- Understand the importance of having a shelter in survival situations.
- Learn the essential steps to craft a reliable emergency shelter.
- Discover tips for building a shelter in various environments.
- Be prepared for unexpected weather changes.
- Stay safe with a well-built shelter until help arrives.
Understanding the Need for an Emergency Shelter
Having a reliable emergency shelter can save lives. Emergencies can happen anytime, leaving people without a safe place.
The need for a temporary shelter is huge, more so during natural disasters or personal crises. It’s a safe place, protecting from the weather and giving a sense of safety.
Why I Should Build an Emergency Shelter
Building an emergency shelter is wise for unexpected events. The U.S. Department of Justice says shelters must be accessible for everyone, including those with disabilities. This is because of the Americans with Disabilities Act of 1990 (ADA).
“Making emergency sheltering programs accessible is generally required by the Americans with Disabilities Act of 1990 (ADA).”
A shelter can be the difference between safety and danger. It offers a place to rest, keep important items, and plan next steps.
Types of Emergencies to Prepare For
There are many types of emergencies, like hurricanes, earthquakes, floods, and personal crises like domestic violence or homelessness. It’s important to have a shelter that can handle different situations.
| Emergency Type | Shelter Requirements |
|---|---|
| Natural Disasters | Sturdy construction, weather-resistant materials |
| Personal Crises | Accessibility features, proximity to essential services |
Knowing about emergencies and what shelters need helps people prepare. They can build a temporary shelter that fits their needs.
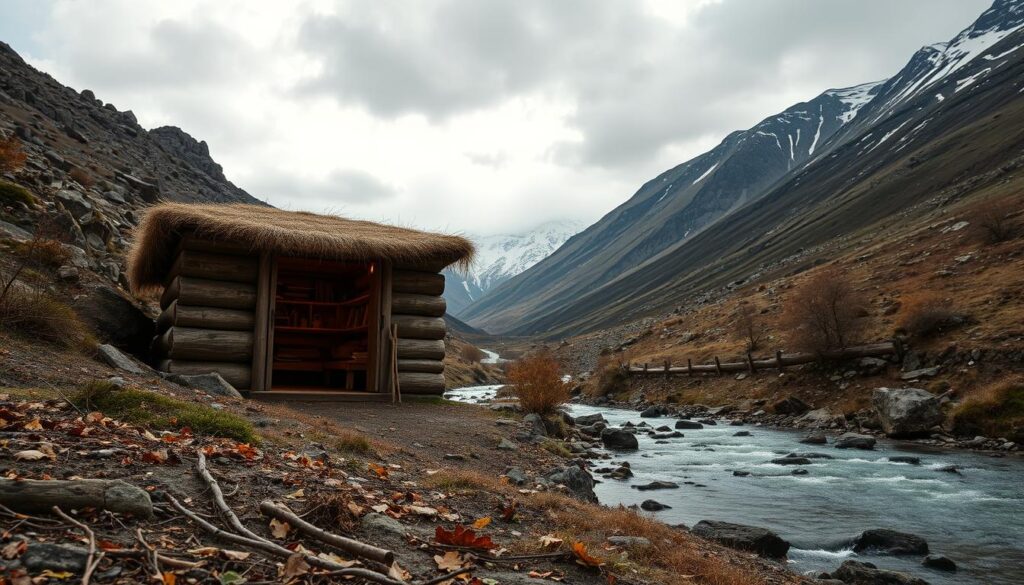
Choosing the Right Location for My Shelter
Choosing the right spot for my emergency shelter is key. The location greatly affects how well it helps during a crisis.
I must pick a site that’s reliable for emergency assistance. The Catholic Relief Services guide says picking the right spot is essential. They suggest looking for a place that’s high up and free from big obstacles.
Evaluating Safety Risks
Checking safety risks is vital when picking a shelter location. I need to see if the area is safe from floods, landslides, or wildfires. Places prone to flooding or near dangerous materials are not good choices.
To stay safe, I should follow these tips:
- Look for a spot that’s high and won’t get waterlogged.
- Stay away from areas with loose soil or steep slopes that could slide.
- Make sure it’s not near wildfires or fire hazards.
Accessibility and Utility Considerations
Accessibility and utilities are also important. For more tips, I can check out The Survival Mom. They offer great advice on picking a spot that’s easy to get to.
Things to think about include:
- Being close to water and food.
- Being easy to reach, even when roads are bad.
- Having access to things like electricity, water, and phone networks.
By thinking about these things, I can make sure my shelter is safe and works well. It will provide the emergency assistance I need when I need it most.
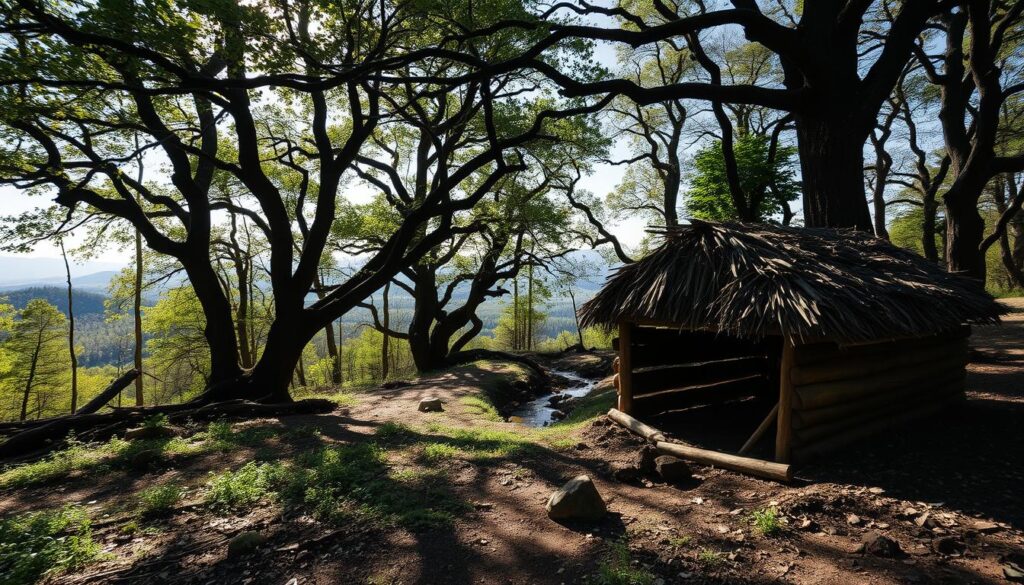
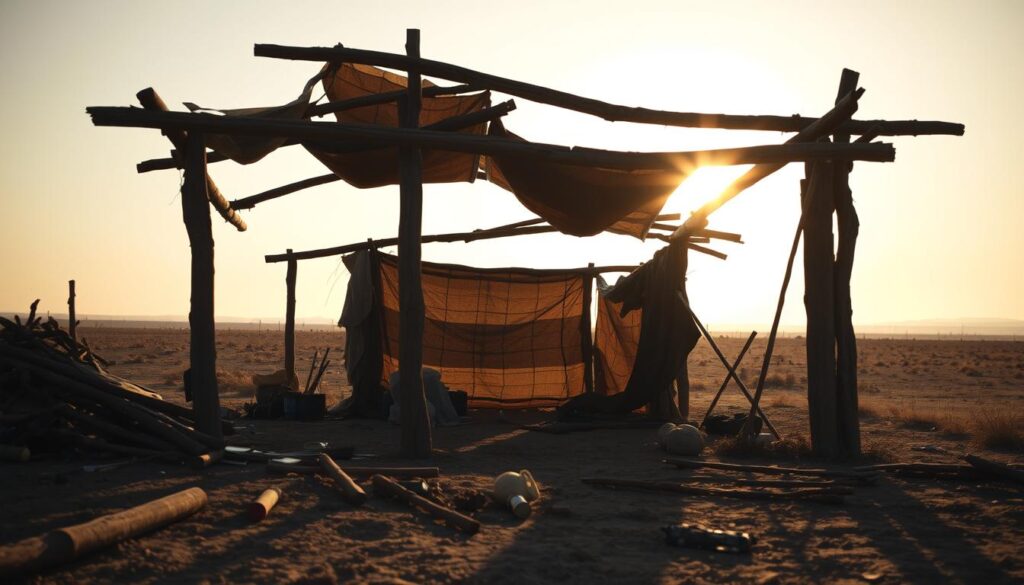
Selecting Materials for My Emergency Shelter
Choosing the right materials for my emergency shelter is key. It affects how well it lasts, how comfortable it is, and how well it keeps me safe from the weather.
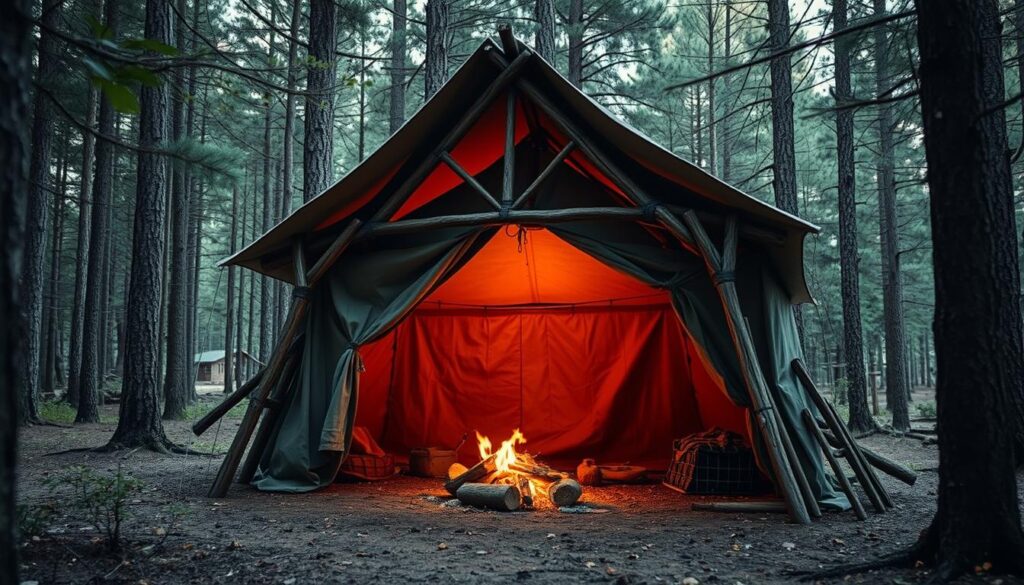
It’s important to think about what materials I have and what I need. Battlbox suggests using tarps, paracord, and natural stuff like leaves and branches for emergency shelters.
Common Materials I Can Use
Here are some common materials for emergency shelters:
- Tarps: They’re waterproof and can cover my shelter.
- Paracord: This strong cord is great for holding my shelter together and for other survival tasks.
- Natural Materials: Stuff like leaves, branches, and more can help build my shelter or add extra warmth.
Sustainable Options for My Shelter
There are also sustainable materials I can use for my shelter. These choices help the environment and make my shelter more independent.
Some green options include:
- Recycled Materials: Using things I already have, like old plastic bags or fabric scraps, cuts down on waste and works well for shelter.
- Locally Sourced Materials: Getting materials from around me means I don’t need to rely on others and helps my shelter blend in.
- Biodegradable Materials: Stuff like leaves and branches are easy to find and break down, which is good for the environment.
By picking the right materials, I can make sure my emergency shelter is both useful and eco-friendly. It will be a safe place for me when I need it.
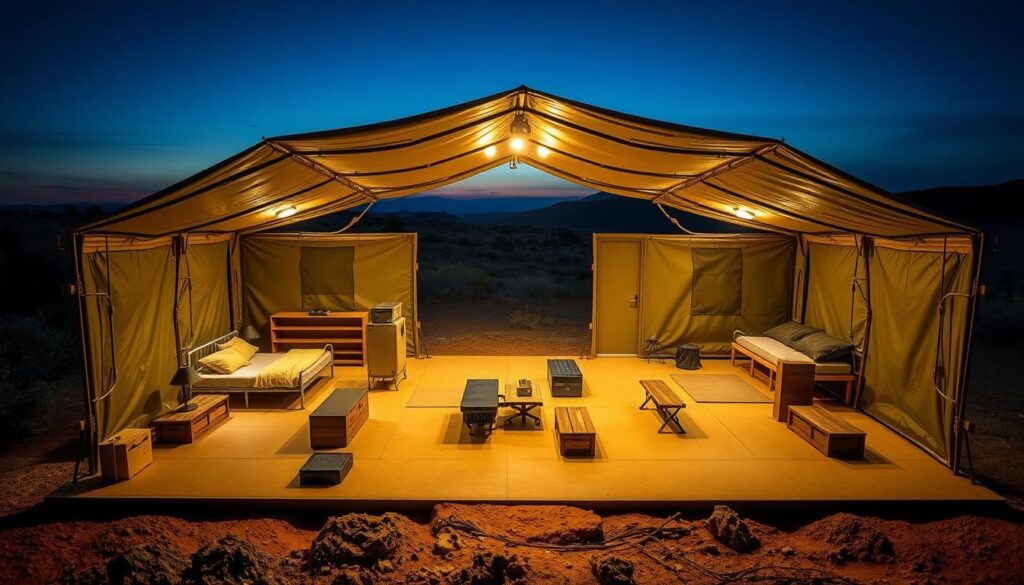
Designing My Emergency Shelter Layout
To build an emergency shelter that meets my needs, I must carefully plan its layout. I need to think about both functionality and accessibility. A well-designed shelter can make a big difference in how I feel during an emergency.
The Americans with Disabilities Act (ADA) Checklist for Emergency Shelters gives important guidelines. It says that features like ramps, wide doorways, and accessible toilet facilities are key. These ensure the shelter is usable by everyone, including those with disabilities.
Essential Features to Include
When designing my emergency shelter layout, there are several essential features I should include:
- Accessible Pathways: Ensuring that pathways within the shelter are wide enough and free from obstacles.
- Comfortable Sleeping Areas: Providing adequate space for sleeping, with considerations for privacy and comfort.
- Sanitation Facilities: Incorporating accessible toilet facilities and showers to maintain hygiene.
- Ventilation and Lighting: Ensuring adequate ventilation and lighting to maintain a healthy environment.
By incorporating these features, I can create a shelter that is not only functional but also provides a safe and comfortable environment.
Space Optimization Strategies
Optimizing the space within my emergency shelter is critical. It ensures the shelter remains functional and comfortable for occupants. Some strategies for space optimization include:
- Multipurpose Furniture: Using furniture that serves multiple purposes to reduce clutter and increase available space.
- Efficient Layout: Designing the layout to minimize wasted space and facilitate easy movement.
- Vertical Storage: Utilizing vertical space for storage to keep the floor clear and make the shelter feel more spacious.
A well-optimized layout can significantly enhance the livability of the shelter. It makes the shelter a more sustainable solution during emergencies.
| Feature | Importance | Implementation |
|---|---|---|
| Accessible Pathways | High | Wide doorways and ramps |
| Comfortable Sleeping Areas | High | Adequate bedding and privacy measures |
| Sanitation Facilities | High | Accessible toilets and showers |
| Ventilation and Lighting | High | Windows, ventilation systems, and lighting fixtures |
Gathering Tools and Supplies
To build a reliable temporary shelter, I need to gather essential tools and supplies. Creating an effective emergency shelter requires careful planning and the right materials.
Experts say having the right tools is key for building an emergency shelter. Essential tools include a survival knife, paracord, and a tarp or emergency blanket, as Battlbox suggests. These tools will be the base of my temporary shelter.
Must-Have Tools for Construction
For constructing my emergency shelter, I need the right tools. Some must-haves are:
- A durable survival knife for cutting and shaping materials
- Paracord for creating a sturdy framework and securing the structure
- A tarp or emergency blanket to provide waterproofing and insulation
- A hammer or mallet for driving stakes and fitting parts together
As “A good tool is as essential as a good plan”, choosing the right tools is vital. With these tools, I can make sure my temporary shelter is sturdy and reliable.
Additional Supplies for Comfort
Along with must-have tools, there are extra supplies to make my emergency shelter more comfortable and safe. These include:
- Sleeping bags or warm blankets to keep me warm
- First aid kits to treat any injuries
- Non-perishable food and water to keep me sustained
- Lighting sources, like flashlights or solar-powered lights, to light up the shelter
By getting these extra supplies, I can make my emergency housing more comfortable and safe. As the saying goes,
“Preparation is key to survival.”
Being prepared with the right tools and supplies is essential for my safety and well-being.
Step-by-Step Construction Process
Building a safe emergency shelter needs a clear plan. It involves several key steps, from starting with the foundation to finishing with the roof.
Laying the Foundation
The foundation is the shelter’s base, giving it stability and support. To start, you must:
- Clear the land of debris and level the ground.
- Dig a shallow trench for the foundation, matching the shelter’s size.
- Fill the trench with compacted gravel or sand for drainage.
Tip: Make sure the foundation is level to avoid water problems and structural issues.
Building the Walls and Roof
After the foundation is ready, you can start on the walls and roof. This includes:
- Building the wall frames with strong materials like wood or metal.
- Wrapping the frames in waterproof materials like plastic sheets or metal roofing.
- Creating the roof with a slight slope to let water run off.
It’s important to make sure the walls are strong and the roof is waterproof to keep out the weather.
| Construction Stage | Materials Needed | Tips |
|---|---|---|
| Laying the Foundation | Gravel, sand, shovel | Ensure the ground is level and compact the gravel for stability. |
| Building the Walls | Wood or metal frames, waterproof materials | Use durable materials and ensure the walls are sturdy. |
| Constructing the Roof | Metal roofing, plastic sheets, nails | Construct the roof with a slight incline for water runoff. |
By following these steps and choosing the right materials, you can create a dependable homeless shelter or crisis accommodation. It will offer safety and security in emergencies.
Insulating My Shelter
A well-insulated emergency shelter can be the difference between life and death in extreme weather. Insulation keeps the shelter warm, protecting me from harsh weather.
Importance of Insulation
Insulation is key for several reasons. It helps keep my body heat in, which is vital for my health. It also shields me from extreme temperatures, lowering the risk of hypothermia or heatstroke. Proper insulation can also help to reduce stress and anxiety, creating a more comfortable environment.
According to Battlbox, natural materials like leaves and pine boughs work well for insulation. These materials are easy to find in the wilderness. They can be used to line the shelter, keeping me warm.
Effective Insulation Techniques
There are several ways to insulate my emergency shelter well. Some include:
- Using natural materials like leaves, pine boughs, and snow to line the shelter.
- Creating a bed of insulating material, such as dry leaves or grass, to sleep on.
- Using a space blanket or emergency blanket to reflect body heat.
- Sealing any gaps or cracks in the shelter to prevent heat loss.
By using these methods, I can make my emergency shelter warm and cozy, even in harsh weather. It’s essential to be creative and resourceful when it comes to insulation, using the materials available to me.
Ensuring Sustainability in My Shelter
To make my emergency shelter truly effective, I must focus on sustainability. This means adding features that lower its environmental impact. It also helps it support me for longer periods.
One key part of sustainability is using rainwater collection systems. The Catholic Relief Services guide says rainwater harvesting saves water and cuts down on external resource use. With a rainwater collection system, I can store rainwater for drinking, cooking, and staying clean.
Rainwater Collection Systems
A rainwater collection system has a few main parts. These include a catchment area, a way to move the water, a storage tank, and a treatment system. The Catholic Relief Services stresses the need for good design and upkeep to make the system work well.
- Catchment area: My shelter’s roof can be the catchment area.
- Conveyance system: Gutters and downspouts carry the rainwater to the storage tank.
- Storage tank: A strong, safe tank is needed to hold the rainwater.
Solar Power Integration
Adding solar power also boosts my shelter’s sustainability. Solar panels offer a clean energy source, making me less dependent on outside power.
By adding these green features, I can build a shelter that’s not just safe. It also supports my health over time. This fits with the goals of emergency shelter resources and helping those in need, like those in a shelter for the homeless.
Stocking My Shelter
Stocking my emergency shelter is a key task that needs careful planning. It’s not just about having a place to stay. It must also have the right supplies to keep me safe during emergencies.
Essential Supplies and Provisions
The first thing to do is list the must-have supplies for survival. These include:
- Non-perishable food: Think canned goods, dried fruits, and nuts.
- Water: I need at least one gallon per person per day for drinking, cooking, and cleaning.
- Water purification tablets or filter: To make sure I have safe drinking water.
- First aid kit: A basic kit should have bandages, antiseptic wipes, pain relievers, and any personal meds.
- Flashlights and extra batteries: For light and powering important devices.
- Battery-powered radio: To keep up with weather updates and emergency info.
First Aid Kits and Emergency Gear
It’s also important to have a good first aid kit and other emergency gear. A detailed first aid kit should have:
- Bandages and band-aids
- Antiseptic wipes and ointments
- Pain relievers and antihistamines
- Prescription meds and essential medical tools
Other emergency gear like a fire extinguisher, multi-tool, and portable stove or cooking gear are also vital. Having these items ready can greatly improve my ability to handle emergencies.
Creating an Emergency Plan
To make sure my temporary shelter is ready, I need a solid emergency plan. This plan will guide me in unexpected times, keeping me safe and helping me respond well.
Communication Strategies
Good communication is key in emergencies. My plan will have ways to stay in touch, like a charged phone, a two-way radio, or other devices. It’s also important to have emergency numbers ready.
Key communication strategies include:
- Designating a primary and secondary contact person
- Establishing a communication protocol for emergency situations
- Ensuring all occupants of the shelter are aware of the communication plan
Evacuation and Safety Procedures
A good evacuation plan is essential to reduce risks in emergencies. My plan will show clear evacuation paths, where to meet, and how to check everyone is safe. We’ll practice these steps often.
Regular updates and reviews of the emergency plan are important. This keeps the plan useful and effective. With a detailed emergency plan, my homeless shelter will be safer, giving a secure place for everyone.
Regular Maintenance and Updates
To keep my emergency shelter safe and reliable, regular maintenance and updates are key. This is vital for crisis accommodation and emergency assistance.
Periodic Inspection
I need to check my shelter often for damage or wear. I should look for signs of structural problems, water damage, or other dangers. These could harm its safety.
Adapting to New Needs
As my needs change, so should my shelter. I should update it for new family members, weather changes, or updated emergency plans. Organizations like Catholic Relief Services often give advice on this.
By being proactive and keeping up with my shelter, I can make sure it’s always ready. It will provide a safe place during emergencies, helping my emergency plan.
FAQ
What is the primary purpose of building an emergency shelter?
The main goal of an emergency shelter is to offer a safe place. It’s for times of natural disasters, personal crises, or emergencies.
How do I choose a suitable location for my emergency shelter?
Look at safety, how easy it is to get to, and if you can get utilities there. Make sure the site is good for building and meets your needs.
What types of materials can I use to build my emergency shelter?
You can use wood, metal, or plastic. Or go green with recycled stuff, bamboo, or earthbags. Pick what works best for you.
What are the essential features to include in my emergency shelter design?
Your shelter needs a strong base, walls, and roof. It should also have good air flow, keep warm or cool, and be easy to get into. Think about how to use space well for comfort.
What tools and supplies do I need to build and maintain my emergency shelter?
You’ll need a hammer, saw, and drill for building. For comfort, add bedding, lights, and first aid. Don’t forget food and emergency gear.
How do I ensure my emergency shelter is sustainable?
Use rainwater and solar power to cut down on waste. Choose eco-friendly materials and design for energy saving.
What should I include in my emergency plan?
Your plan should cover how to talk to others, leave, and stay safe. Make a detailed plan for different situations to stay ready.
How often should I inspect and update my emergency shelter?
Check your shelter often to keep it safe. Update it as needed to fit your changing needs.
Can I use my emergency shelter as a long-term housing solution?
No, it’s for emergencies only. Plan for permanent housing and use your shelter as a temporary fix.
How can I make my emergency shelter accessible to everyone?
Add features like ramps and wide doors. Make sure your shelter is usable for all, including those with disabilities.
What are some common mistakes to avoid when building an emergency shelter?
Don’t pick a bad spot, use the wrong materials, or forget about insulation and air. Do your homework to build a safe shelter.