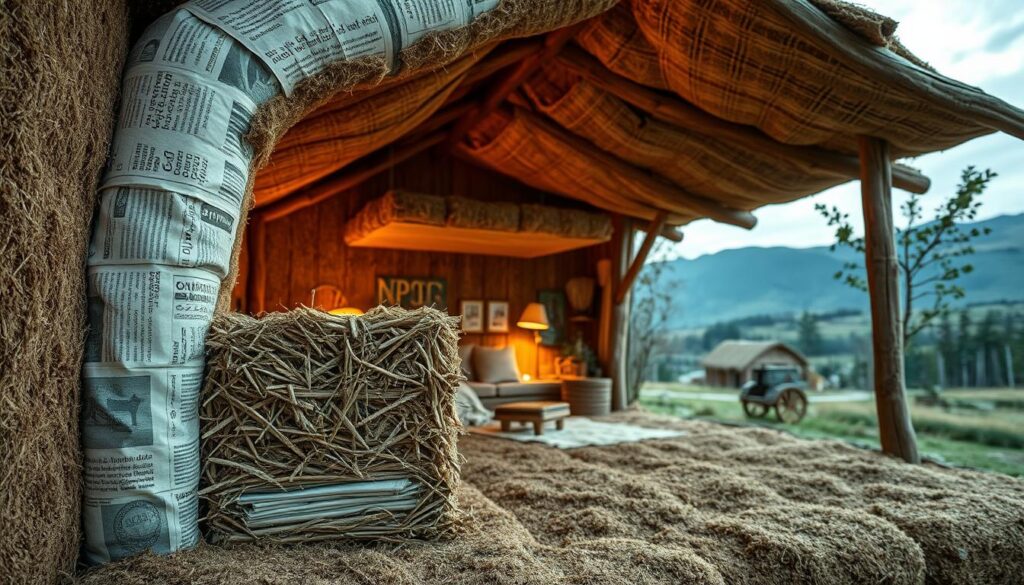
Reflecting on my outdoor adventures, I see how vital a well-insulated shelter is. It’s key for a comfy and safe time outdoors. Insulating your shelter can be life-saving, whether you’re a seasoned camper or a survivalist.
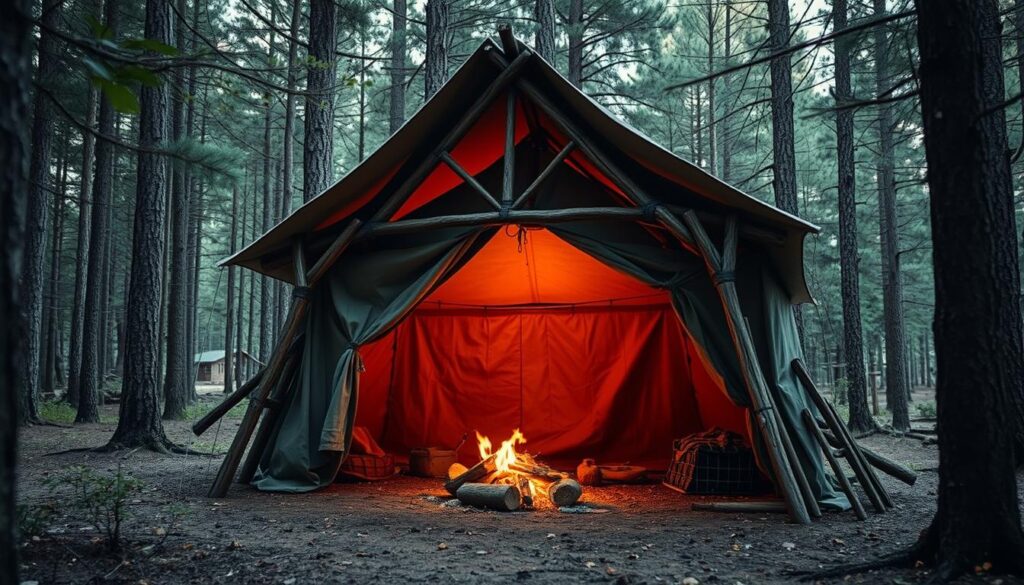
A good shelter keeps you warm in cold weather and shields you from harsh conditions. You can use leaves, pine boughs, and snow to make it cozy. For more tips on building an emergency shelter, check out this comprehensive guide.
In this guide, I’ll show you how to insulate your shelter. We’ll cover the benefits and techniques for staying warm and safe.
Key Takeaways
Understand the importance of insulating your shelter for survival and comfort.
Learn how to use natural materials for insulation.
Discover techniques for sealing gaps and cracks in your shelter.
Improve energy efficiency and reduce heat loss.
Enhance your overall outdoor experience with a well-insulated shelter.
Understanding Shelter Insulation
Shelter insulation is key to a cozy and energy-saving home. Let’s explore the basics of how it works.
What is Shelter Insulation?
Shelter insulation stops heat from moving in and out. It uses air traps to keep a shelter warm or cool. Materials like fibrous plants, emergency blankets, and leaves and pine needles are used.
Why is Insulation Important?
Insulation is important for energy savings. It makes a shelter more comfortable. It keeps the inside temperature steady, no matter the outside weather.
Good insulation also cuts down on heating and cooling needs. This lowers energy bills. It’s a smart way to make a shelter more comfortable and eco-friendly.
Types of Insulation Materials
There are many insulation materials for different needs. Some common ones are:
Natural materials like wool, cotton, and plant fibers
Synthetic materials such as fiberglass and foam
Reflective insulation materials like aluminum foil
Choosing the best insulation for shelters depends on several factors. These include climate, budget, and personal preferences. It’s important to pick materials that are effective, sustainable, and safe for use.
Evaluating Your Shelter's Insulation Needs
Checking your shelter’s insulation is key to keeping it warm and energy-efficient. This process has several important steps. It helps you see how well your shelter is insulated.
Assessing Current Insulation Levels
Start by checking your shelter’s insulation. Look at the attic, walls, and floors for insulation. Experts say,
“Proper insulation is key to reducing heat loss and maintaining a comfortable indoor climate.”
Look for damage, moisture, or wear in your insulation. This first check will show you where to focus next.
Identifying Areas of Heat Loss
Next, find where heat escapes. Look at gaps around windows, doors, and electrical spots. Sealing these gaps helps keep your shelter warm and saves energy.
For tips on building a survival shelter, visit Survivalist Bottles. They offer great advice on preparing your shelter.
Measuring Your Shelter’s Square Footage
Measure your shelter’s size to figure out insulation needs. Calculate each room’s length and width, then multiply them. Accurate measurements help you buy the right insulation, saving you money and resources.
By following these steps, you can assess your shelter’s insulation needs. Then, you can improve it with eco-friendly shelter insulation and affordable shelter insulation options.
Choosing the Right Insulation Material
Choosing the right insulation material is key for a durable and efficient shelter. There are many insulation materials out there. It’s important to know the differences to make a good choice.
Comparing Insulation Options
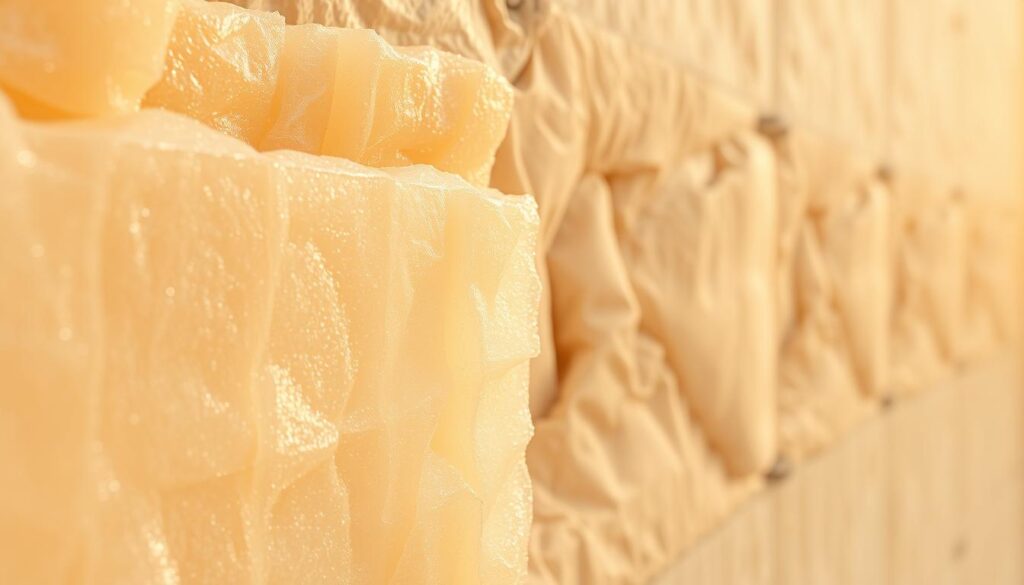
Different insulation materials have their own benefits. Fiberglass batts are affordable and easy to install. Spray foam insulation seals air well and insulates better. Cellulose insulation, made from recycled paper, is eco-friendly and insulates well.
The right insulation depends on several things. These include the climate, budget, and if you care about the environment.
Factors to Consider When Choosing
When picking insulation, several factors are important. The R-value, which shows how well it resists heat, is key. Also, think about the material’s durability, how it handles moisture, and if it could harm your health.
Installation is also a big factor. Some materials, like rigid foam boards, are harder to install than others, like blanket insulation.
A durable insulation material can save you from needing repairs and replacements later.
Eco-Friendly Insulation Choices
If you care about the environment, there are eco-friendly insulation options. Recycled denim insulation is made from old jeans. It’s a safe, green alternative to traditional insulation.
“Using eco-friendly insulation materials helps the environment and makes your home healthier.”
Other green options include sheep’s wool insulation and insulation from recycled plastic. These materials insulate well and support sustainable living.
Recycled denim insulation
Sheep’s wool insulation
Insulation made from recycled plastic
By thinking about these factors and options, you can choose the best insulation for your shelter. This ensures your insulation is both durable and efficient.
Preparing for Installation
To ensure a smooth insulation installation process, thorough preparation is essential. As I embark on insulating my shelter, I understand that preparation is key to a successful project.
Before starting, it’s important to know the importance of preparation. This includes several critical steps. These steps ensure the insulation is installed correctly and safely.
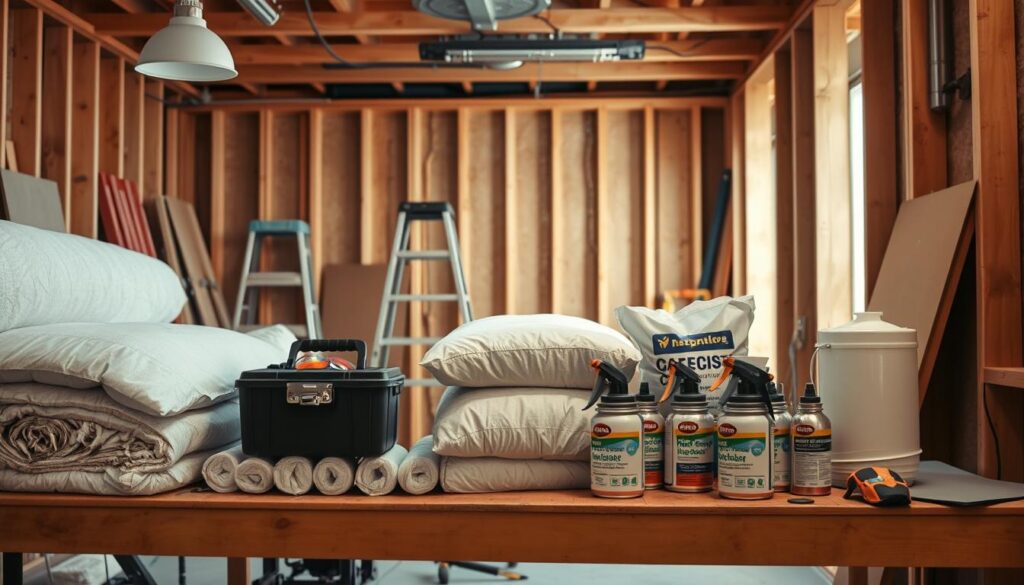
Gathering Necessary Tools
Gathering the necessary tools is the first step in preparing for insulation installation. The tools needed may vary based on the insulation type and shelter areas to be insulated.
Utility knife or insulation cutter
Measuring tape
Gloves and safety goggles
Insulation supports or retainers
Sealant or caulk for gaps
Having all the necessary tools at hand will make the installation process more efficient and less prone to interruptions.
Safety Precautions to Observe
Safety should always be the top priority when working with insulation materials. It’s essential to take necessary safety precautions to avoid health risks and injuries.
Safety Measure
Description
Wearing Protective Gear
Gloves, safety goggles, and a mask to protect against insulation fibers and debris.
Ensuring Good Ventilation
Proper ventilation to prevent inhalation of insulation particles and to maintain a safe working environment.
Avoiding Electrical Hazards
Being cautious around electrical components and wiring to prevent shocks or fires.
By observing these safety precautions, I can minimize risks associated with insulation installation.
Creating a Comfortable Workspace
Creating a comfortable workspace is vital for productivity and safety. This involves clearing the area of clutter, ensuring good lighting, and maintaining a clean environment.
A well-prepared workspace not only makes the task more manageable but also contributes to the overall quality of the insulation installation.
In conclusion, preparing for insulation installation is a multifaceted process. It involves gathering the right tools, observing safety precautions, and creating a comfortable workspace. By following these steps, I can ensure that my shelter insulation project is successful. This will enhance the shelter insulation benefits and make my shelter more energy-efficient.
Installing Insulation in Walls
Installing insulation in walls is key to a cozy and energy-saving shelter. I’ll show you how to remove old materials, add batts and rolls, and seal gaps. This will make your shelter warm and efficient.
Removing Existing Materials
First, you might need to take out old insulation. This could be because it’s damaged or not working well anymore. Always wear protective gear like gloves and a mask to stay safe.
Check for damage before removing old insulation. If it’s contaminated or worn out, it’s time to get rid of it.
Installing Batts and Rolls
After clearing the area, it’s time to put in batts and rolls. These are popular for walls because they’re easy to use and work well. Here’s how to do it right:
Measure the wall space to pick the right insulation size.
Cut the insulation to fit between the studs.
Put the insulation in the wall, making sure it’s not squished.
Sealing gaps and cracks is vital for good insulation. Air leaks can make your insulation less effective. So, it’s important to seal around windows, doors, and joints.
As Benjamin Franklin said, “A small leak will sink a great ship.” This shows how important it is to fix even small gaps to avoid big energy losses.
“Properly sealing your shelter’s envelope is key for keeping energy in and comfort up.”
Here’s a simple table to help you find and fix common gaps:
Location
Sealing Method
Around Windows
Caulk or Weatherstripping
Around Doors
Weatherstripping or Door Sweeps
Joints and Cracks
Spray Foam or Caulk
By following these steps, you’ll make your walls well-insulated. Remember, the right insulation isn’t just about the material. It’s also about how well you install it.
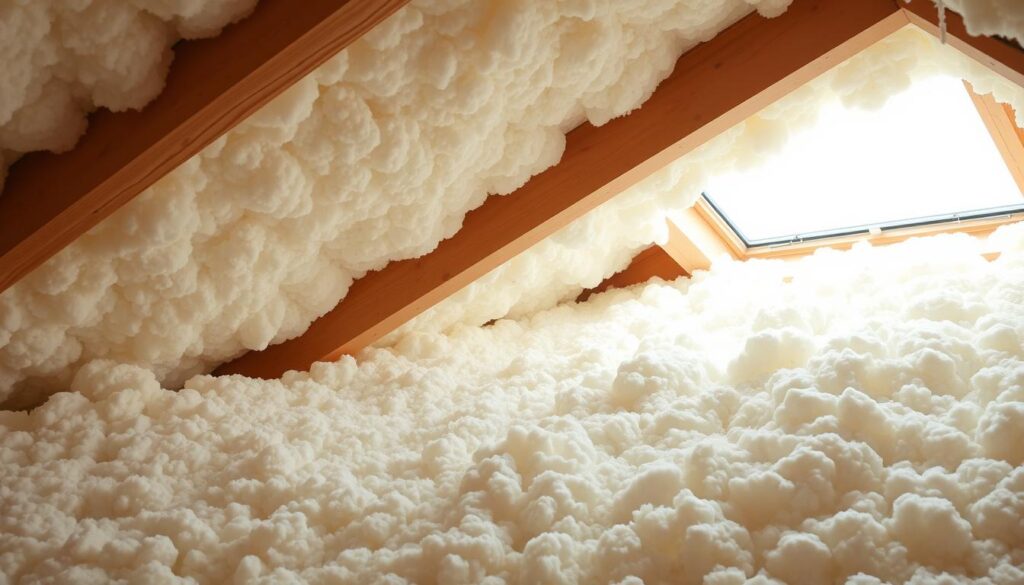
Insulating the Roof and Attic
Insulating the roof and attic is key for energy efficiency and comfort. It’s a critical area to focus on.
Selecting Insulation for Roofs
Choosing the right insulation for your roof is important. Eco-friendly shelter insulation like recycled denim, fiberglass, or cellulose is popular. They are effective and good for the environment.
The insulation you choose depends on your climate, roof design, and local codes. For cold climates, use insulation with a higher R-value for better warmth.
Steps for Attic Insulation Installation
Installing attic insulation involves several steps. First, clear the area of debris and old insulation. Then, measure the space to figure out how much insulation you need.
Next, cut the insulation to fit between the joists without gaps. Always wear protective gear when handling insulation.
Check for any existing insulation and assess its condition.
Measure the attic space to calculate the amount of insulation needed.
Cut the insulation material according to the measurements.
Install the insulation, ensuring a snug fit between the joists.
Ventilation Considerations
Proper ventilation is vital when insulating the roof and attic. Without it, moisture can cause mold and damage.
To ensure good ventilation, install soffit vents, ridge vents, or power ventilators. They help air circulate and prevent moisture buildup, protecting your insulation.
It’s a balancing act between insulation and ventilation – too much insulation without enough ventilation can be bad.
Insulating Floors and Basements
Improving your home’s energy efficiency starts with insulating floors and basements. This not only saves energy but also makes your home more comfortable.
Insulating these areas requires careful planning. Floors over unheated spaces like crawl spaces or garages need insulation to keep warm air in. Basements, being below ground, need insulation that can handle moisture and temperature changes.
Types of Floor Insulation
There are many insulation options for floors, including rigid foam insulation, fiberglass batts, and spray foam insulation. The right choice depends on the floor’s design, climate, and your budget and eco-friendliness preferences.
Rigid foam insulation is great for floors over crawl spaces because it’s effective and acts as a moisture barrier. Fiberglass batts are common for spaces between floor joists. Spray foam insulation is perfect for filling gaps and offers excellent thermal performance.
Installing Insulation in Basements
Insulating basements is key to keeping them warm and dry. The type of basement and local building codes are important considerations. For unfinished basements, insulating walls and rim joists helps a lot.
The installation process involves putting insulation between wall studs or against foundation walls. It’s important to fit it right and avoid gaps or compressions that could reduce its effectiveness.
Moisture Control Techniques
Controlling moisture is essential in basements. Use moisture-resistant insulation materials, ensure good drainage, and keep the basement well-ventilated. Sealing foundation wall cracks also helps prevent moisture from getting in.
Combining insulation with moisture control makes your living space more energy-efficient and comfortable. This improves your quality of life and follows shelter insulation installation best practices.
Insulating Windows and Doors
To get durable shelter insulation, focus on windows and doors. These spots often let heat escape, hurting your shelter’s energy use. Insulating them well boosts shelter insulation benefits, making your home cozy and saving on energy bills.
Windows and doors are more than just for going in and out. They play a big role in how much energy your shelter uses. Insulating them right can cut down your energy costs and help the planet.
Understanding Window Insulation Options
There are many ways to insulate windows, each with its own perks. You can pick from window films, magnetic window insulation, or thermal window treatments. Your choice depends on your windows, budget, and insulation needs.
Window films are a budget-friendly option that blocks heat transfer. Magnetic window insulation seals gaps with magnets, keeping cold air out.
Installing Weather Stripping
Weather stripping is a simple yet effective way to insulate doors and windows. It seals gaps to stop air leaks. You can find foam tape, felt, and vinyl weather stripping.
To put weather stripping on, clean the area first for a tight seal. Measure and cut the stripping to fit. Then, apply it around the edges, making sure it’s snug.
Using Thermal Curtains
Thermal curtains are great for insulating windows. They keep warmth in during winter and out in summer. These curtains are thick and block heat transfer well.
To get the most from thermal curtains, hang them to cover the whole window. Close them at night or when not in use to keep the room warm. This boosts the shelter insulation benefits.
By using these methods, you can make your home durable shelter insulation. This makes it more energy-efficient and cozy all year round.
Insulating for Specific Climate Conditions
Adapting your insulation to your local climate is key. Different areas need different methods to keep your shelter cozy and save energy.
Cold Climate Insulation Techniques
In cold areas, keeping warm inside is the main goal. High-density insulation materials with a high R-value help a lot.
Some good ways to insulate in cold weather include:
Using spray foam to seal gaps and keep warmth in.
Putting fiberglass batts or rigid foam boards in walls and ceilings.
Insulating your attic well to stop heat from escaping.
The Department of Energy says, “In cold climates, insulation works best if it’s continuous and without gaps.” This shows how important careful installation is.
“Proper insulation is critical in cold climates to minimize heat loss and reduce the risk of frost damage.”
Hot Climate Insulation Strategies
In hot places, the goal is to stay cool by blocking heat. You need insulation that reflects radiant heat well.
Some good strategies for hot climates are:
Using reflective insulation to reflect radiant heat.
Choosing insulation with a high R-value to block heat transfer.
Sealing air leaks to keep hot air out.
Reflective insulation is very effective in hot climates, studies show.
Insulation Type
R-Value
Effectiveness in Hot Climates
Fiberglass Batts
R-3 to R-4 per inch
Moderate
Reflective Insulation
Varies
High
Spray Foam Insulation
R-6 to R-7 per inch
High
Humid Climate Considerations
In humid areas, controlling moisture is as vital as keeping warm. You need insulation that won’t get damaged by moisture.
Some tips for humid climates are:
Using insulation that’s resistant to moisture, like closed-cell spray foam.
Having good ventilation to cut down moisture buildup.
Putting a vapor barrier to stop moisture from getting in.
Knowing your local climate’s challenges helps you pick the best insulation. This way, your shelter stays comfy and saves energy.
Maintaining Your Insulation
Keeping your insulation in good shape is key to saving energy and avoiding damage. I’ve learned that ignoring maintenance can cause big problems. These include losing energy and paying more for utilities.
To keep your insulation working well, regular checks are a must. Experts say, “Proper insulation maintenance not only saves energy but also prolongs the lifespan of your shelter’s building envelope” (
A quote from a renowned insulation expert
). This shows why it’s important to stay ahead of insulation maintenance.
How to Check for Damage
When checking for damage, look for wear, moisture, or pests. Watch for damp spots, mold, or tears in the insulation. Use a flashlight to check dark spots, like attics or crawl spaces.
Key areas to inspect include:
Attic spaces for uneven or missing insulation
Walls for signs of moisture or water damage
Crawl spaces for insulation integrity and dryness
Tips for Routine Inspections
Do routine checks at least twice a year, or after big weather events. Look for any changes in your insulation’s condition. Keeping a log of your inspections helps track changes over time.
Some tips for effective routine inspections include:
Checking for drafts around windows and doors
Inspecting insulation for compression or damage
Verifying that ventilation systems are functioning correctly
When to Replace Insulation
Knowing when to replace insulation is key for keeping your shelter energy-efficient. If you see a lot of damage, compression, or degradation, it’s time for a new one. Always get a professional’s advice on what to do next.
By focusing on insulation maintenance, you can keep your shelter cozy and energy-smart. Remember, the best insulation isn’t just about the initial setup. It’s also about ongoing care and upkeep.
The Benefits of Proper Shelter Insulation
Getting the right shelter insulation is a smart move. It makes your home more comfortable and saves you money. Plus, it’s better for the environment.
Energy Efficiency and Cost Savings
Proper insulation makes your home more energy-efficient. It keeps your home warm in winter and cool in summer. This means you use less energy for heating and cooling.
Using less energy means your bills go down. A well-insulated home can save up to 30% on heating and cooling costs. Here’s how much you could save with different insulation levels.
Insulation Level
Heating Cost Savings
Cooling Cost Savings
Minimal Insulation
0%
0%
Moderate Insulation
15%
10%
High Insulation
30%
25%
Improved Comfort Levels
Insulation also makes your home more comfortable. It keeps the temperature steady and blocks drafts. This is key in places with really hot or cold weather.
A well-insulated home is cozy in winter and cool in summer. It’s perfect for any climate.
Environmental Impact Reduction
Insulation also helps the environment. It reduces the need for heating and cooling, which lowers greenhouse gas emissions. This makes your home more eco-friendly.
Many insulation materials are eco-friendly. They’re made from recycled or natural materials. Choosing the right insulation helps the planet.
Final Thoughts on Shelter Insulation
Insulating your shelter is key to a cozy and energy-saving home. It cuts down on energy costs and helps the environment. This is a big deal.
By insulating well, you can stay warm in winter and cool in summer. It’s also good for the planet. This guide is a great place to start your insulation journey.
If you want to learn more, check out the U.S. Department of Energy and the Insulation Contractors Association of America. They have lots of info on insulation. Start improving your shelter’s insulation today for a better living space.
FAQ
What is the most effective insulation material for my shelter?
The best insulation material varies based on climate, budget, and personal taste. Options include fiberglass batts, spray foam, and eco-friendly choices like recycled denim and wool.
How do I assess my shelter’s current insulation level?
Check for gaps around doors, windows, and outlets. Look for heat loss in your attic, walls, and floors.
What are the benefits of using eco-friendly insulation materials?
Eco-friendly insulation reduces environmental impact and improves air quality. It can also save money. Materials like recycled denim are made from recycled materials.
How do I ensure proper ventilation when insulating my roof and attic?
Leave space between insulation and the roof deck for airflow. Use vents like ridge or soffit vents to prevent moisture buildup.
Can I install insulation myself, or do I need to hire a professional?
You can install insulation yourself, but hiring a pro is wise for complex areas like crawl spaces or hard-to-reach attics.
How often should I inspect my insulation for damage or deterioration?
Inspect your insulation every few years for damage, moisture, or pests. Early detection helps avoid major issues.
What are the benefits of insulating my windows and doors?
Insulating windows and doors reduces heat loss and air leaks. Use weatherstripping, thermal curtains, or window film for better energy efficiency.
How does insulation impact my energy bills and environmental footprint?
Good insulation cuts energy bills by reducing heat loss and gain. This lowers your environmental impact by needing less energy for heating and cooling.
What are some affordable insulation options for my shelter?
Affordable options include fiberglass batts, cellulose insulation, and DIY solutions like weatherstripping and thermal curtains. Compare prices to find the best fit for your budget.
How can I maintain my insulation to ensure it lasts longer?
Regularly inspect your insulation for damage. Keep the area clean and dry. Avoid compressing or damaging the insulation. Proper care extends its lifespan.