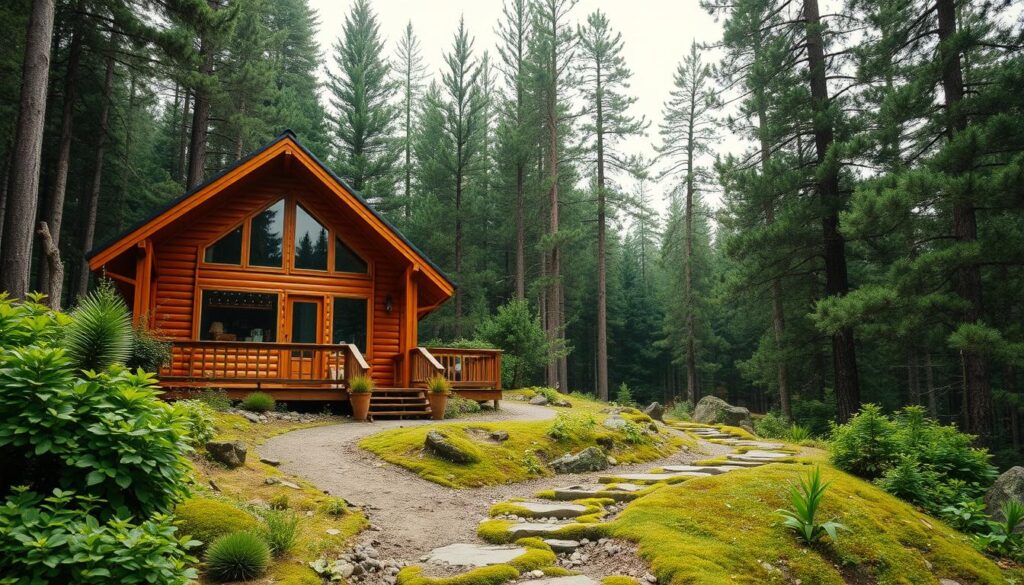
Imagine being deep in the woods as the sun sets and the temperature drops. In such a situation, a well-constructed bushcraft shelter is vital. My experience with bushcraft skills helps turn a dire situation into a manageable one.
Having the right shelter building tips can save your life. In this article, I’ll share my proven techniques for DIY shelter building. These come from my own experiences and expertise. For a more detailed guide, check out my previous article on crafting an emergency shelter.
Key Takeaways
Understanding the importance of shelter in survival situations
Essential materials needed for building a shelter
Basic techniques for constructing a DIY shelter
Tips for making your shelter more secure and sustainable
Key features to include in your emergency shelter
Understanding Shelter Types
It’s important to know the different types of shelters for effective wilderness shelter construction. Each type is suited for different environments and needs.
Shelters can be natural or man-made. Knowing the difference is key for natural shelter building and survival.
Natural vs. Man-Made Structures
Natural shelters use the environment, like caves or hollowed-out logs. They are easy to set up and hide well.
Man-made shelters, made from branches and leaves, are more flexible. They can be designed to protect against wind or rain.
Temporary Shelters vs. Permanent Ones
Temporary shelters are for quick use, like in emergencies. They are light and simple to make but don’t last long.
Permanent shelters, built to last, need more effort but offer better protection. They can be used for a long time.
Knowing the difference between these shelters helps in wilderness survival. The right choice can make a big difference in safety and comfort.
Essential Tools and Materials
Building a shelter can be a big difference with the right tools and materials. The right equipment makes the job easier and the shelter stronger. It’s all about being prepared.
Choosing the right shelter building materials depends on where you are. In a forest, wood is easy to find for framing. But in deserts or rocky areas, you might use rocks, sand, or fabric instead.
Recommended Tools for Building
Even experienced bushcrafters use tools to make building shelters quicker. A bushcraft knife is great for cutting, an axe for chopping, and a folding saw for cutting branches. These are must-haves for DIY shelter building.
For bigger projects, you might need more tools. A mallet for driving stakes, rope for securing, and a shovel for digging. A shovel is key for digging foundations or trenches for drainage.
Best Materials for Different Environments
The right materials depend on the environment. In snowy areas, you can use snow to build shelters. In wet places, choose materials that don’t rot, like treated wood or synthetic fabrics.
Knowing your local environment helps pick the best materials. This makes your shelter fit well and keeps the area untouched.
Selecting the Right Location
Finding the perfect spot for your shelter is key to survival in tough outdoor settings. My experiences show that the location greatly affects safety and comfort.
Factors to Consider for Site Selection
When looking for a spot, several things matter. First, find a flat area free from hazards like falling branches or rocks. Avoid places that might flood or slide, as they can be dangerous.
It’s also important to be near resources like water and building materials. Having water nearby is good, but watch out for waterborne dangers. Also, think about where you can find materials for your shelter, like branches or snow.
Assessing Ground Stability and Drainage
Checking the ground’s stability and drainage is key to a safe, dry shelter. Choose areas with good drainage, avoiding spots where water might gather. Sandy or gravelly soils drain well, but clay soils can be a problem.
To see if the ground is stable, look at the terrain and watch for erosion or past slides. Digging a small test pit can also help find underground water or unstable soil.
By carefully thinking about these factors and checking the ground, you can pick a safe, effective shelter spot. Remember, the right location is the base of a successful outdoor survival shelter.
Designing Your Shelter
In the wilderness, a good shelter design is key to survival. It keeps you safe from the weather and boosts your mood. Think about what you need and the place you’re in when planning your shelter.
Planning Layouts for Functionality
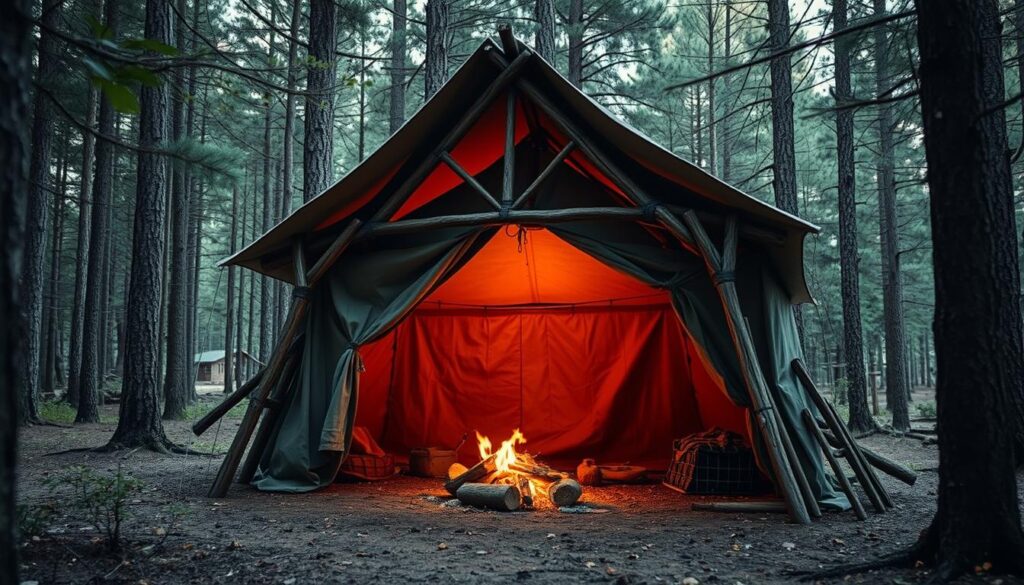
Think about how you’ll use your shelter. Do you need it for a quick stay or a long time? A simple lean-to works for short stays, but a debris hut is better for longer ones. Make sure it’s easy to get in and out of, and has room for your stuff.
A lean-to is easy to make with a few sticks and some leaves. It’s fast to build. But, a debris hut is warmer and safer, though it takes more work.
Survival experts say, “A shelter is more than a roof; it’s a safe place that helps you survive.” (Learn more about shelter building).
Importance of Ventilation in Design
Ventilation is vital for a good shelter. It keeps moisture down and stops mold. It also helps keep the inside cool or warm.
Ventilation Method
Description
Benefits
Simple Opening
A basic opening at the top or side of the shelter
Easy to implement, effective for small shelters
Adjustable Vent
A vent that can be adjusted to control airflow
Allows for better temperature regulation
Cross Ventilation
Openings on opposite sides of the shelter
Enhances airflow, reduces moisture buildup
Good ventilation makes your shelter more comfy and healthy.
Weather Considerations
The weather greatly affects how well a shelter holds up. Knowing the local climate is key to keeping your shelter safe. Weather conditions guide the type, location, and design of your shelter in the wilderness.
Understanding Local Climate Impact
Grasping the local climate is vital for wilderness shelter construction. Different climates bring unique challenges like heavy rain, extreme temperatures, or strong winds. For example, in rainy areas, shelters with sloped roofs are best to keep water away.
It’s also important to think about local wildlife and how they might use your shelter in different weather. In cold places, animals might look for shelter in your structure. Designing with this in mind can be helpful.
Adapting Designs to Seasonal Changes
Adjusting your shelter design for the seasons is a must for outdoor survival shelter tips. A summer shelter might not be enough in winter. So, it’s important to think about temperature, rain, and wind changes when designing.
Making your shelter flexible for different seasons is smart. Use materials that keep warm in cold weather and can be changed or removed when it’s warmer. Also, think about the wind and sun directions to improve your shelter’s layout.
By understanding and adapting to local climate and seasonal changes, you can make your shelter last longer and stay safe all year.
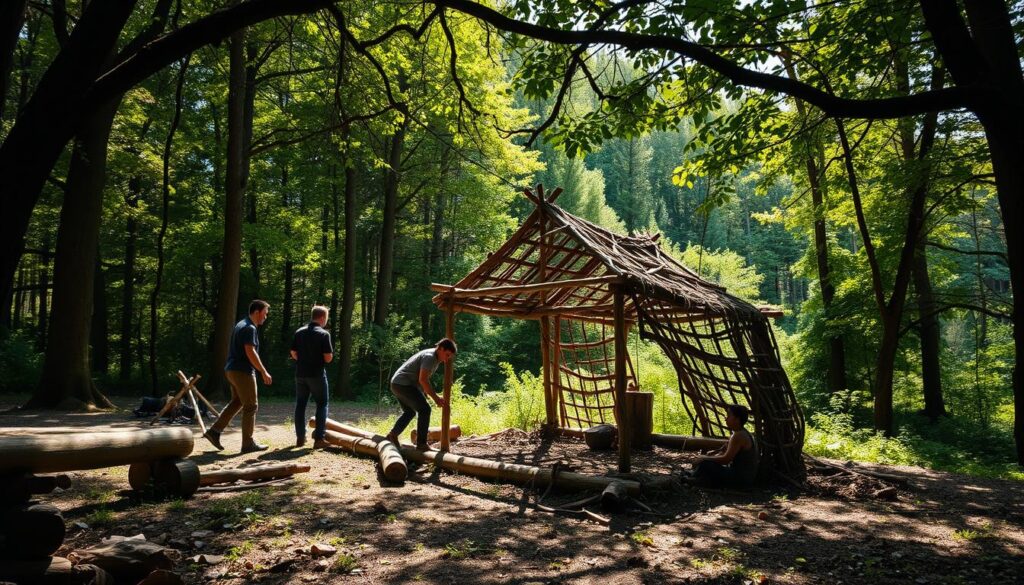
Building Techniques and Methods
Building a shelter outdoors is an art that needs the right methods. I’ve spent a lot of time outside and learned that the secret to a good shelter is knowing how to build it. It’s all about using the right techniques.
When it comes to shelter building tips, start with the basics. Learning to tie knots is a skill that helps a lot. The right knots are key for securing tarps, tents, and other shelter structures.
Basic Techniques for Different Shelters
Different shelters need different techniques. For example, building a lean-to is different from making a debris hut. Knowing your environment and the materials you have is key to choosing the right technique.
For DIY shelter building, knowing basic techniques is essential. This includes making a strong frame, securing it with knots, and insulating it right. These basics are the foundation for more complex shelters.
Advanced Methods for Resilience
Once you know the basics, you can learn advanced methods to make your shelter stronger. This includes adding extra materials, improving drainage, and using weather-resistant materials.
Advanced techniques also mean adapting your shelter to the local weather and seasons. For example, in snowy areas, your shelter’s roof must handle snow weight.
By mixing basic and advanced techniques, you can build shelters that are not just functional but also strong and safe.
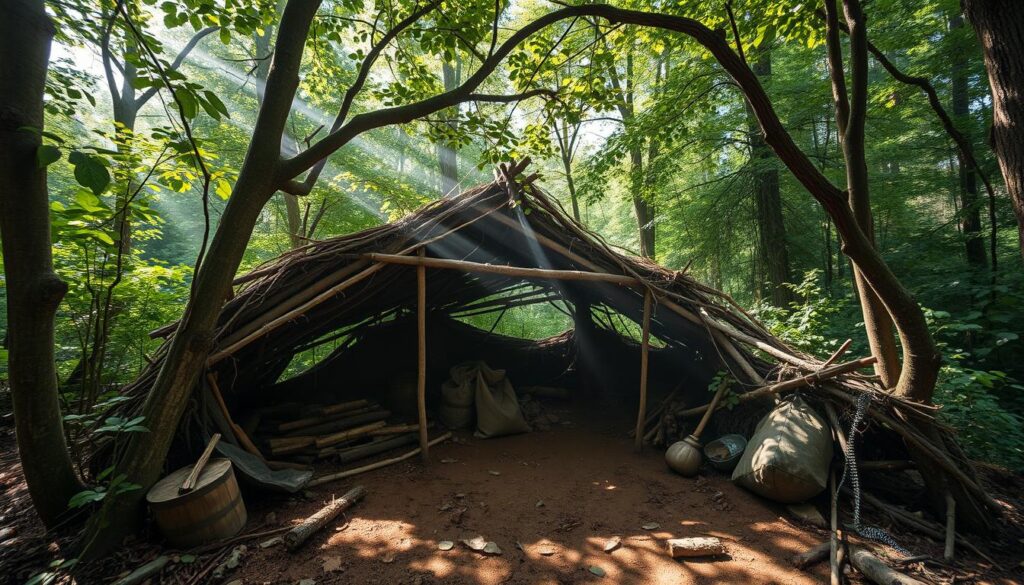
Insulation and Protection
Building a shelter that can handle different weather conditions is important. You need to think about insulation and protection to keep it safe and cozy.
Materials for Effective Insulation
Insulation helps keep your shelter warm. Natural materials like leaves, grass, and moss work well. They’re easy to find and keep cold out and warmth in.
Recommended Insulation Materials:
Dry leaves
Grass
Moss
Feathers
Make sure your shelter’s roof is thick to block rain. Use at least 6-8 inches of insulation materials.
Material
Insulation Effectiveness
Availability
Dry Leaves
High
High
Grass
Medium
High
Moss
High
Medium
Strategies to Protect Against Wildlife
Keeping your shelter safe from animals is key. Use materials animals can’t find and keep it clean to avoid attracting them.
Effective Strategies:
Blend your shelter with the surroundings using camouflage.
Don’t leave food or scented items near your shelter.
Keep the area around your shelter clean and free of debris.
By using these strategies and materials, you can build a safe, cozy, and well-protected shelter. It will meet your needs in the wilderness.
Safety and Structural Integrity
Building a safe and sturdy shelter is key. I’ve spent a lot of time outdoors and know how important a good shelter is.
One key part of building a shelter is a strong base. A weak base can cause the shelter to fail, which is dangerous. It’s vital to know about emergency shelter construction.
Ensuring Strong Foundation Building
A solid base is essential for a shelter’s stability and life span. Here are some important points:
Look for a flat spot with good drainage.
Stay away from soft or shaky ground.
Use materials that last and fit your area.
By following these tips, you can make your shelter stronger. Using best shelter design techniques can also help your shelter stand up to different weather.
Foundation Type
Characteristics
Suitability
Raft Foundation
Distributes weight evenly
Soft or unstable ground
Shallow Foundation
Simple to construct
Firm ground with good drainage
Deep Foundation
Provides maximum stability
Areas with poor soil quality
Common Mistakes to Avoid
Mistakes can happen even with the best plans. Here are some common errors to steer clear of:
Not preparing the site well enough.
Using the wrong materials.
Not considering the weather and environment.
It’s important to check your shelter often for stability and damage. Watch for animal signs and keep your shelter strong. Being proactive helps fix problems before they get big.
In summary, making a safe and strong shelter needs careful attention and the use of best shelter design techniques. Avoiding common mistakes and focusing on a solid base ensures a safe place to stay.
Maintenance and Repair
Keeping your shelter in good shape is key. Regular care makes it last longer and stay safe. I’ve learned this from my time outdoors.
For more tips on fixing and keeping your shelter up, check out VAWNET. They have lots of advice.
Regular Checks for Longevity
It’s important to check your shelter often. Look for cracks, leaks, or foundation damage. A strong shelter is essential.
Key areas to inspect include:
The roof for any signs of damage or leaks
Walls for cracks or weakening
Foundation for stability and erosion
Doors and windows for proper sealing and functionality
Quick Fixes for Common Issues
Knowing how to fix small problems can prevent big ones. For example, fixing a leaky roof or a broken door is useful. Keep basic repair tools like nails, rope, and sealant handy.
For ideas on making your home disaster-proof, visit Survivalist Bottles. They share great tips.
By keeping up with maintenance and being ready to fix things, your shelter will stay safe and cozy. Regular checks and quick repairs are key shelter building tips for a long-lasting shelter.
My Personal Shelter-Building Journey
Building a survival shelter is a key skill for wilderness survival. I’ve learned that practice and the right techniques are essential. They help you create a safe place, no matter where you are.
Key Takeaways from Experience
My journey showed me the need to adapt shelters to different places and weather. Knowing the local climate and checking the ground stability are vital. These tips can greatly improve your outdoor survival skills.
Improving Your Shelter-Building Skills
To get better, practice different shelter techniques and try out different materials. This will make you skilled at building shelters that can handle different weather. Always keep learning and practicing, using shelter building tips to improve your outdoor survival strategies.
FAQ
What are the most essential tools for building a shelter?
Key tools for building a shelter are a knife, saw, rope, and tarp. These help you make a strong shelter from wilderness materials.
How do I choose the best location for my shelter?
Look for a spot that’s stable, drains well, and is close to water and food. Stay away from places that might flood or slide.
What are some effective materials for insulating a shelter?
Good insulators are leaves, pine needles, grasses, and snow. They keep your shelter warm, even in cold weather.
How can I protect my shelter from wildlife?
Use strong branches and plants that animals don’t like. You can also make a barrier with rocks, sticks, or other natural things.
What are some common mistakes to avoid when building a shelter?
Don’t pick a spot that’s wet, make sure your shelter is secure, and think about the weather. These mistakes can ruin your shelter.
How often should I inspect and maintain my shelter?
Check your shelter often to keep it safe and strong. Look for damage and fix it to stop it from getting worse.
What are some advanced techniques for building resilient shelters?
Use natural materials like cordage and thatching. Add design features like sloping roofs and strong walls for better weather resistance.
Can I build a shelter in any weather condition?
Yes, but you need to adjust your design and materials for the weather. For example, a snowy area might need a roof that sheds snow well.
How can I improve my shelter-building skills?
Practice building different shelters and try new materials and methods. Learn from your mistakes and get tips from outdoor experts.